Introduction
It is difficult to discuss swordplay, or any movement art for that matter, with any useful degree of precision or accuracy without having some kind of anatomical model for framing that discussion. This model is intended to facilitate those conversations without requiring the people involved to memorize a modern anatomical textbook.
A Note on History and Importance
This Control Point system is not directly derived from any specific historical system or school. It is a construct created to facilitate better analysis of movement and manipulation. That being said, it should be noted that similar systems were employed in at least some of the martial training of the period. Many treatises, for example, discuss isolating particular movements around different parts of the body. Some Spanish rapier sources destinquish between movements from the wrist, elbow, or shoulder. Gerard Thibault, in his defense against attacks to the low line, specifically recommends lowering the sword arm by inclining the torso so that the arm can continue to move independently.

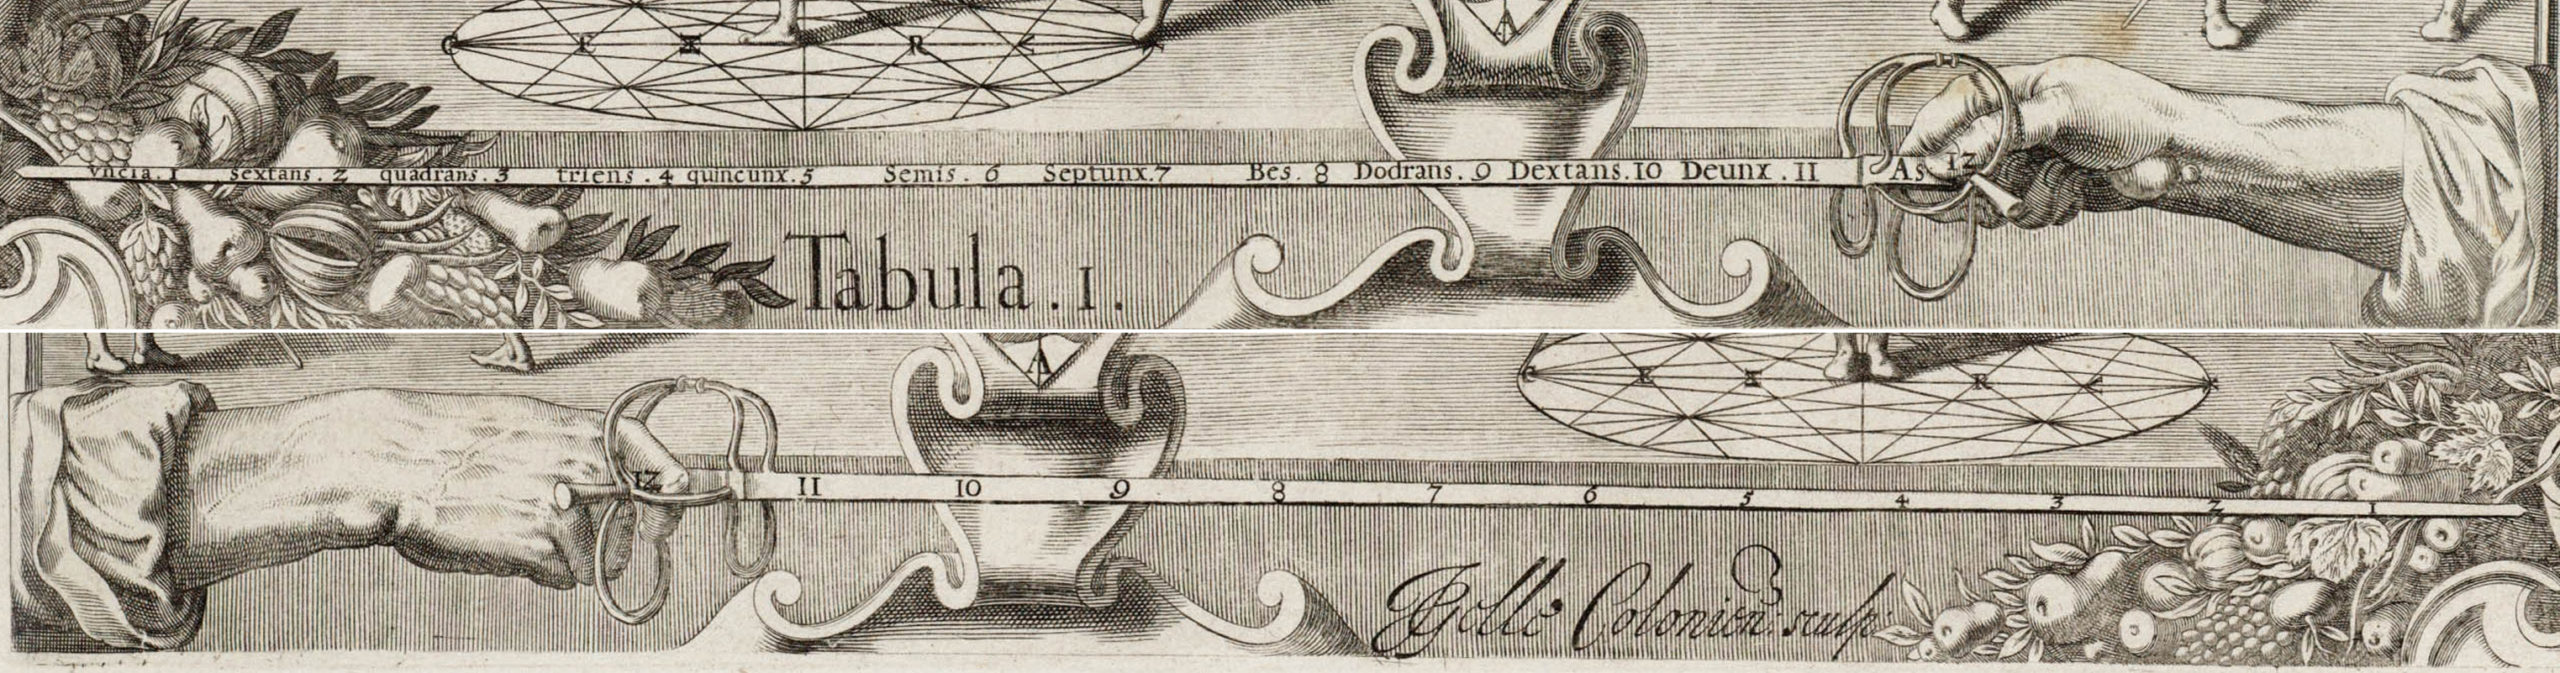
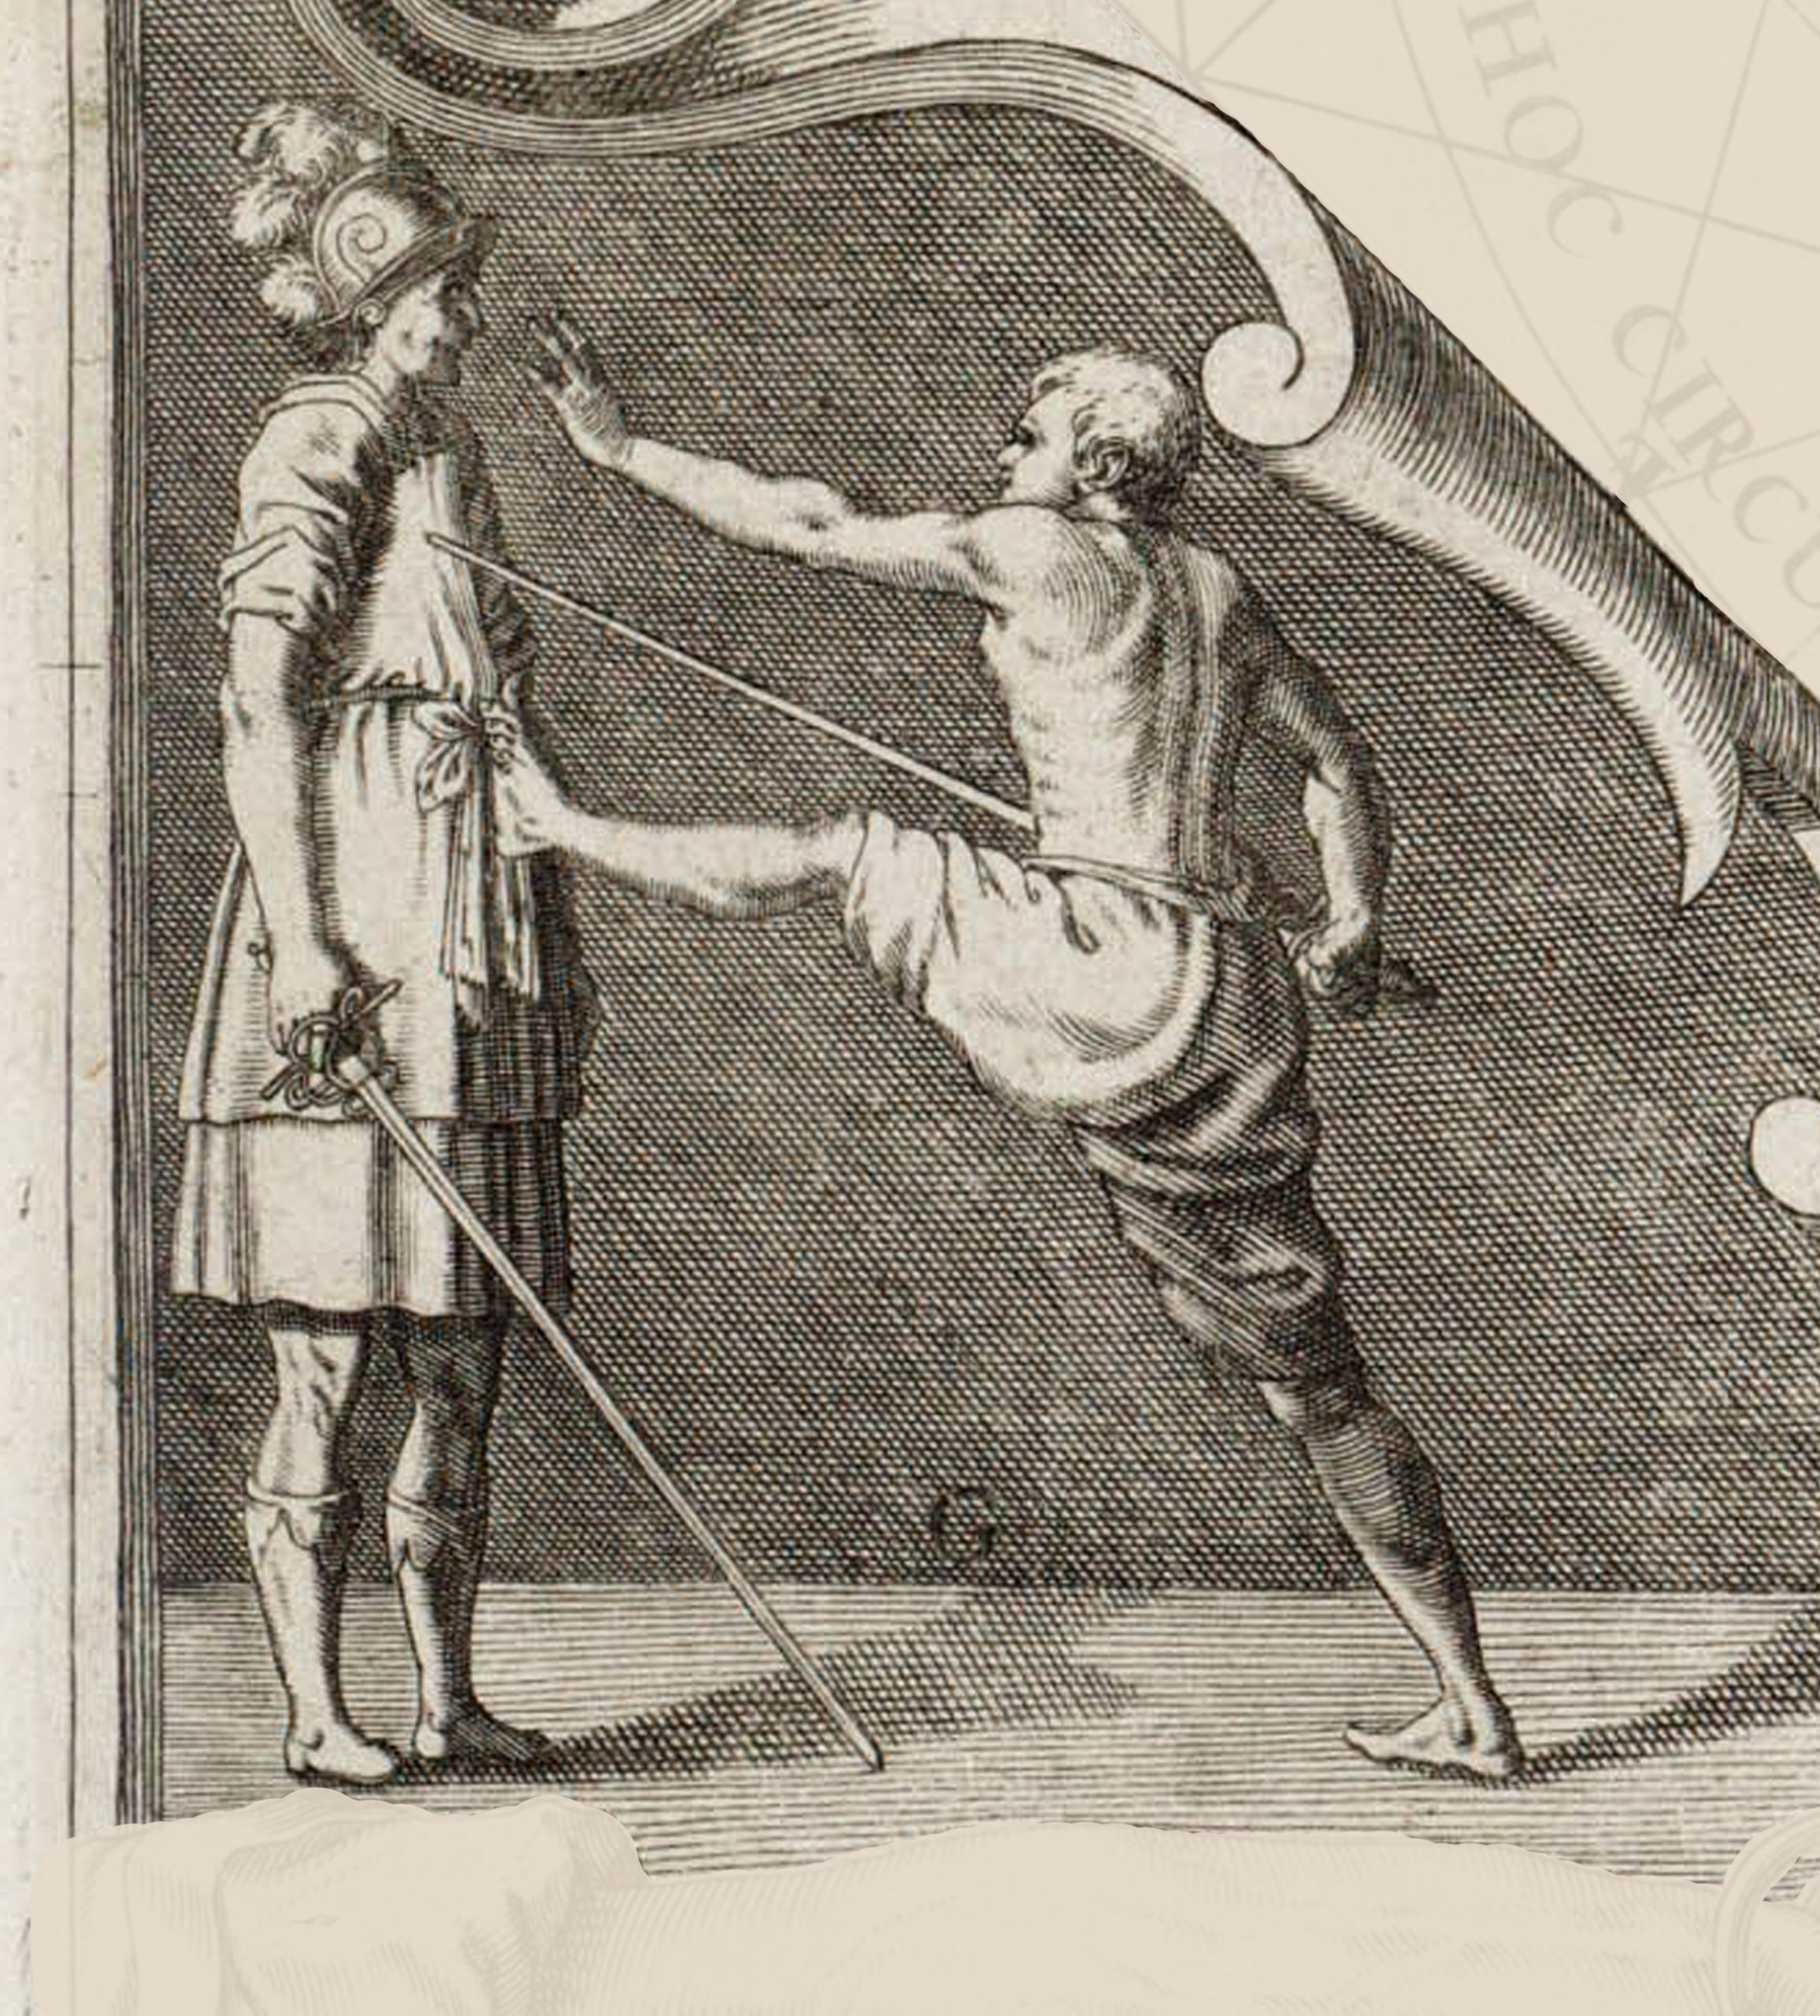
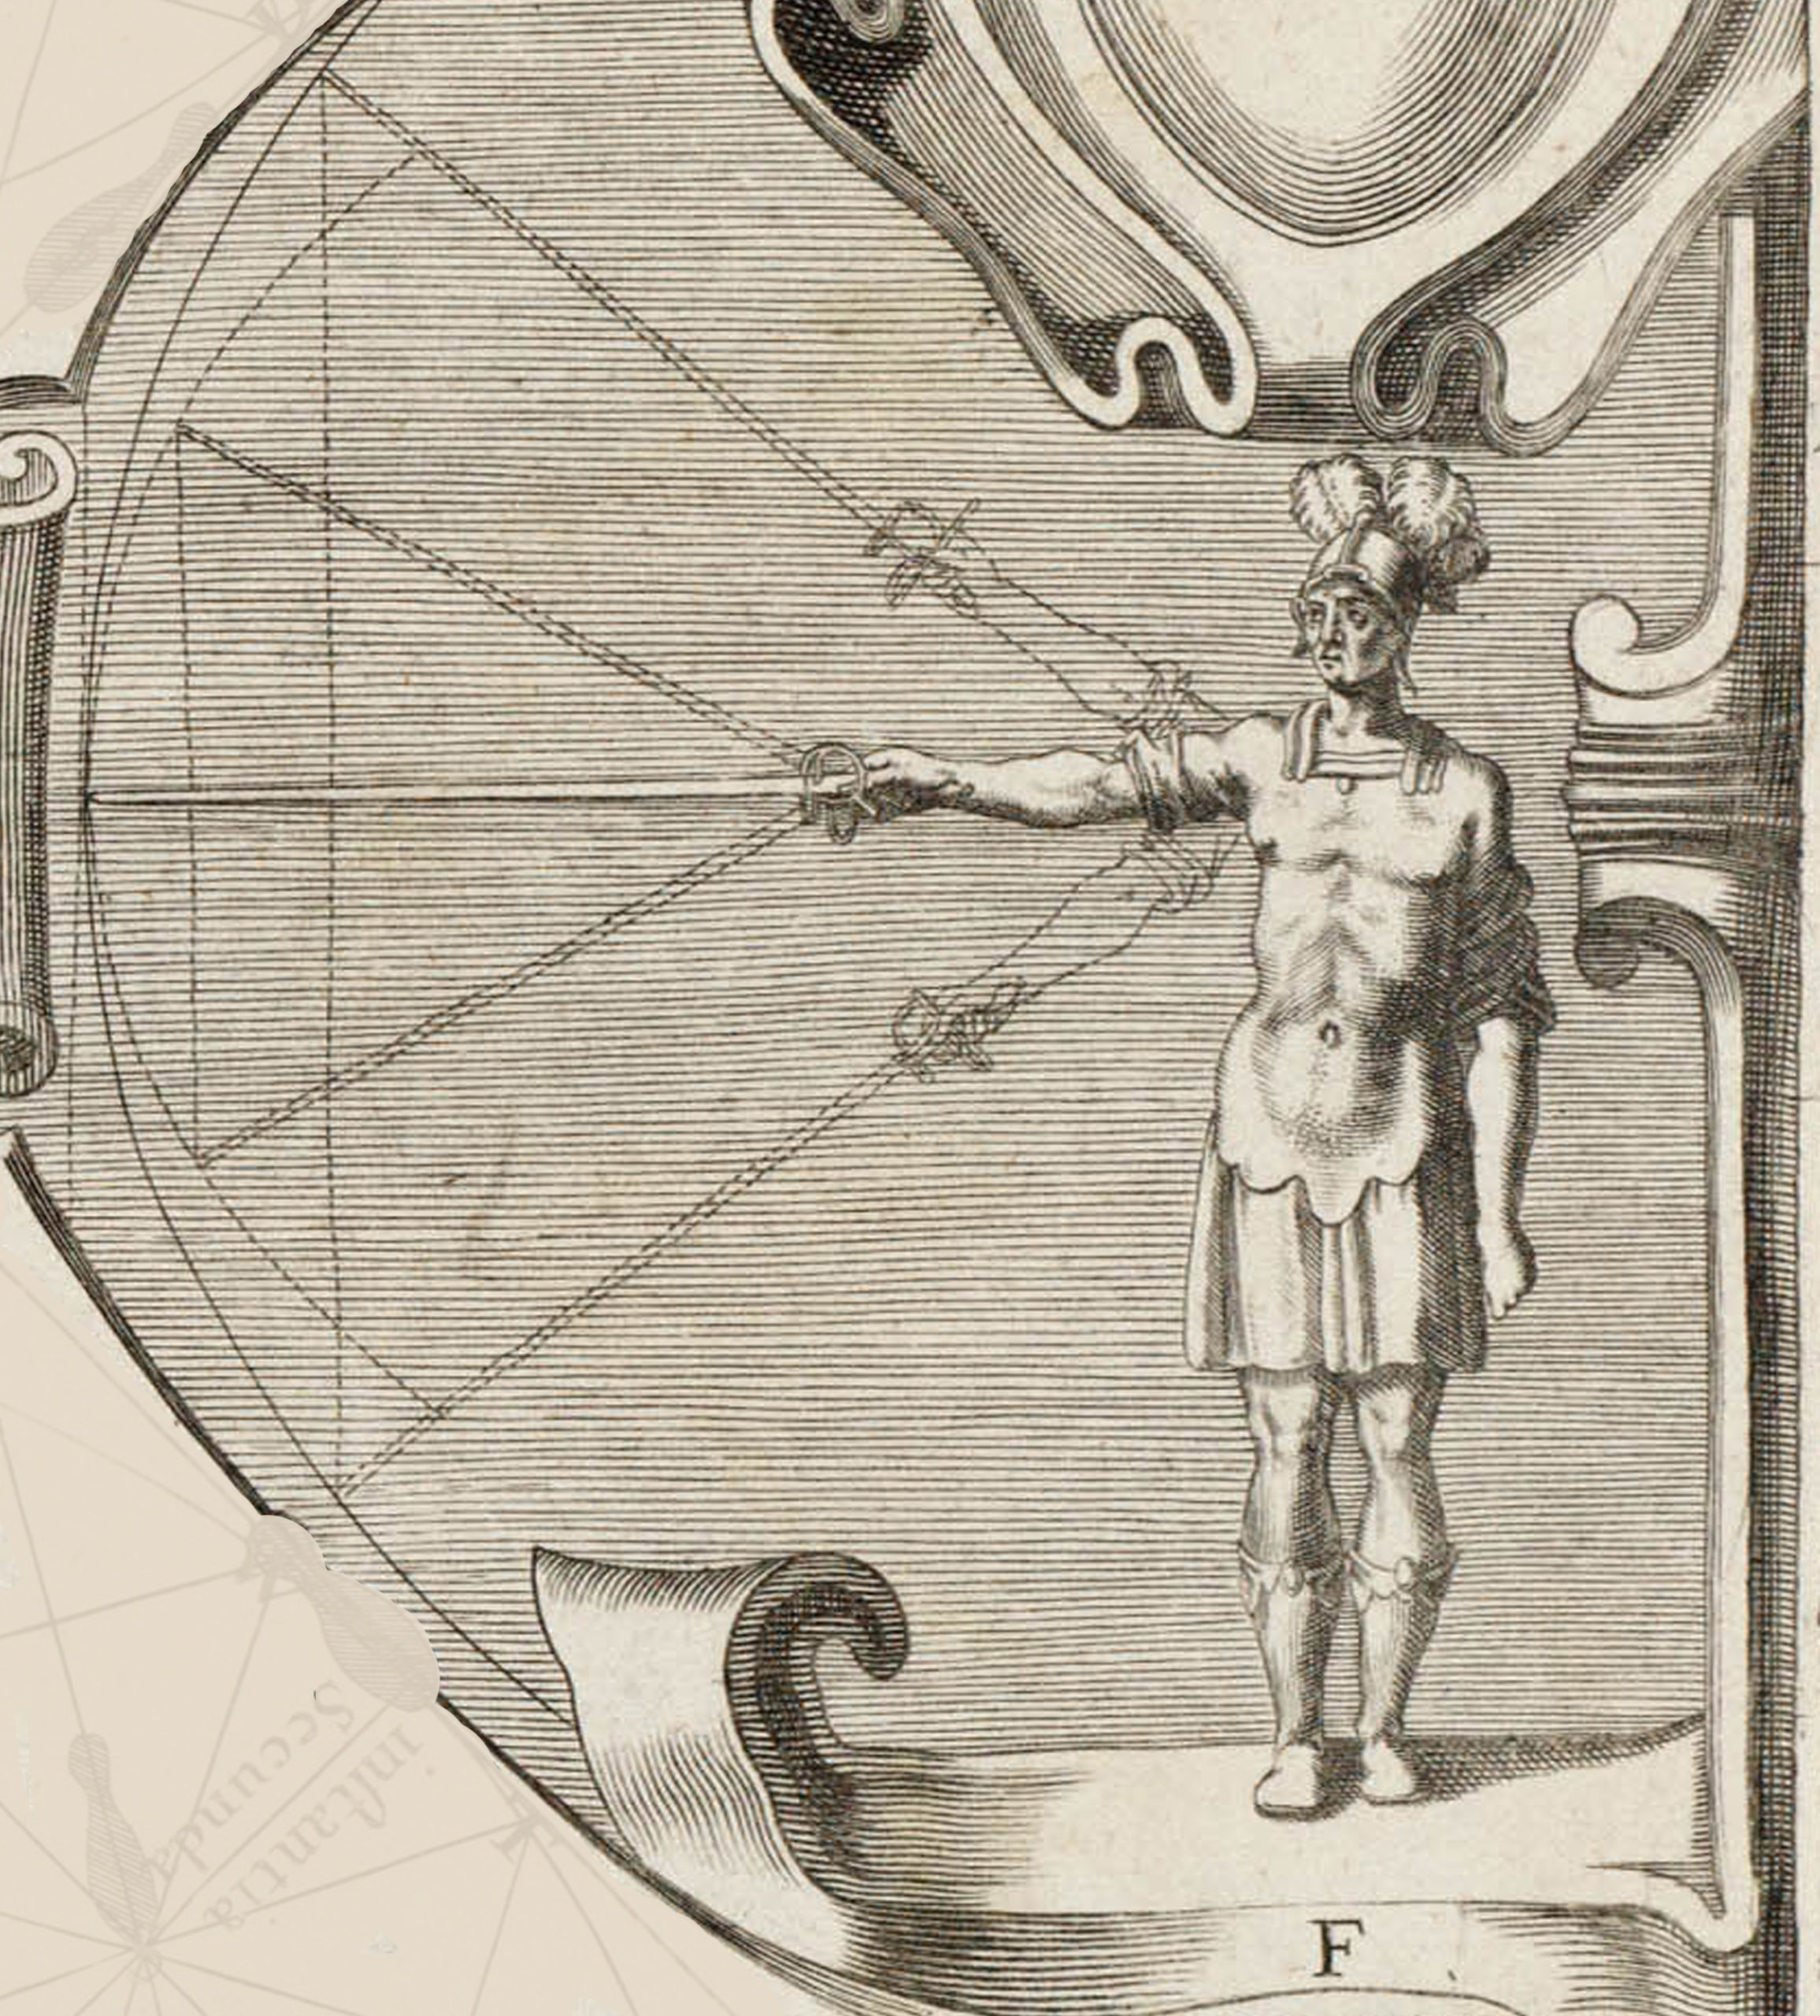
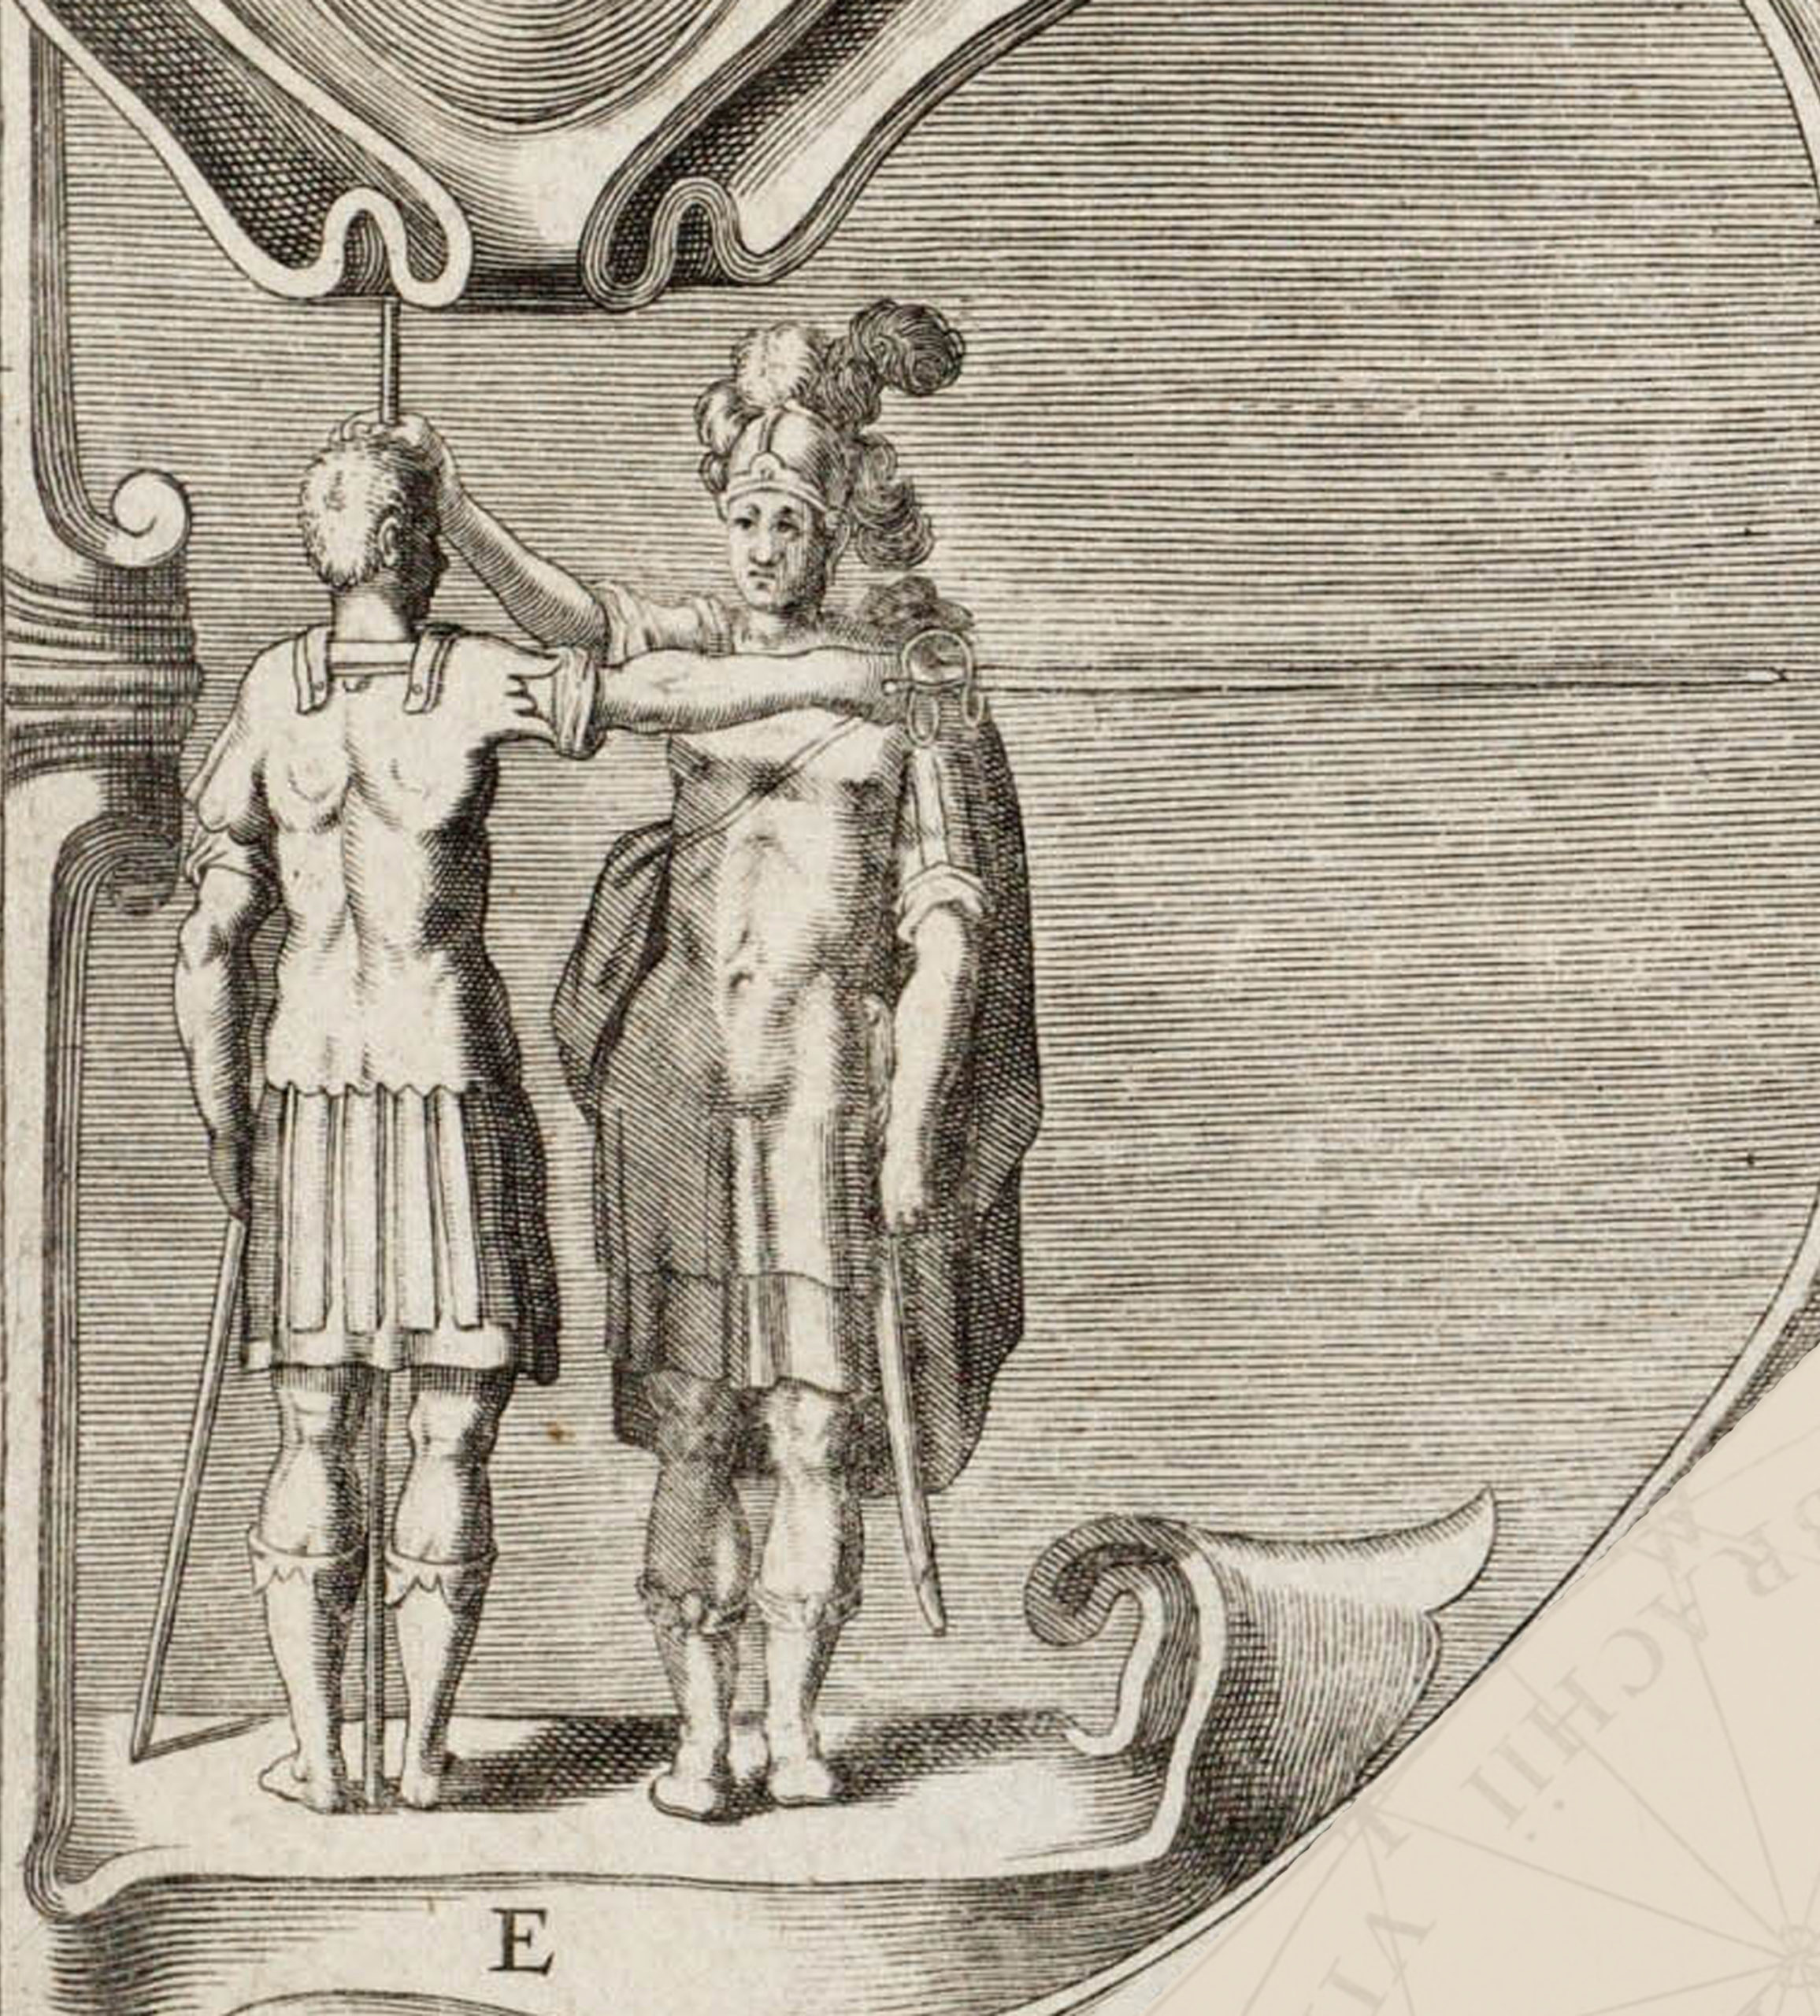
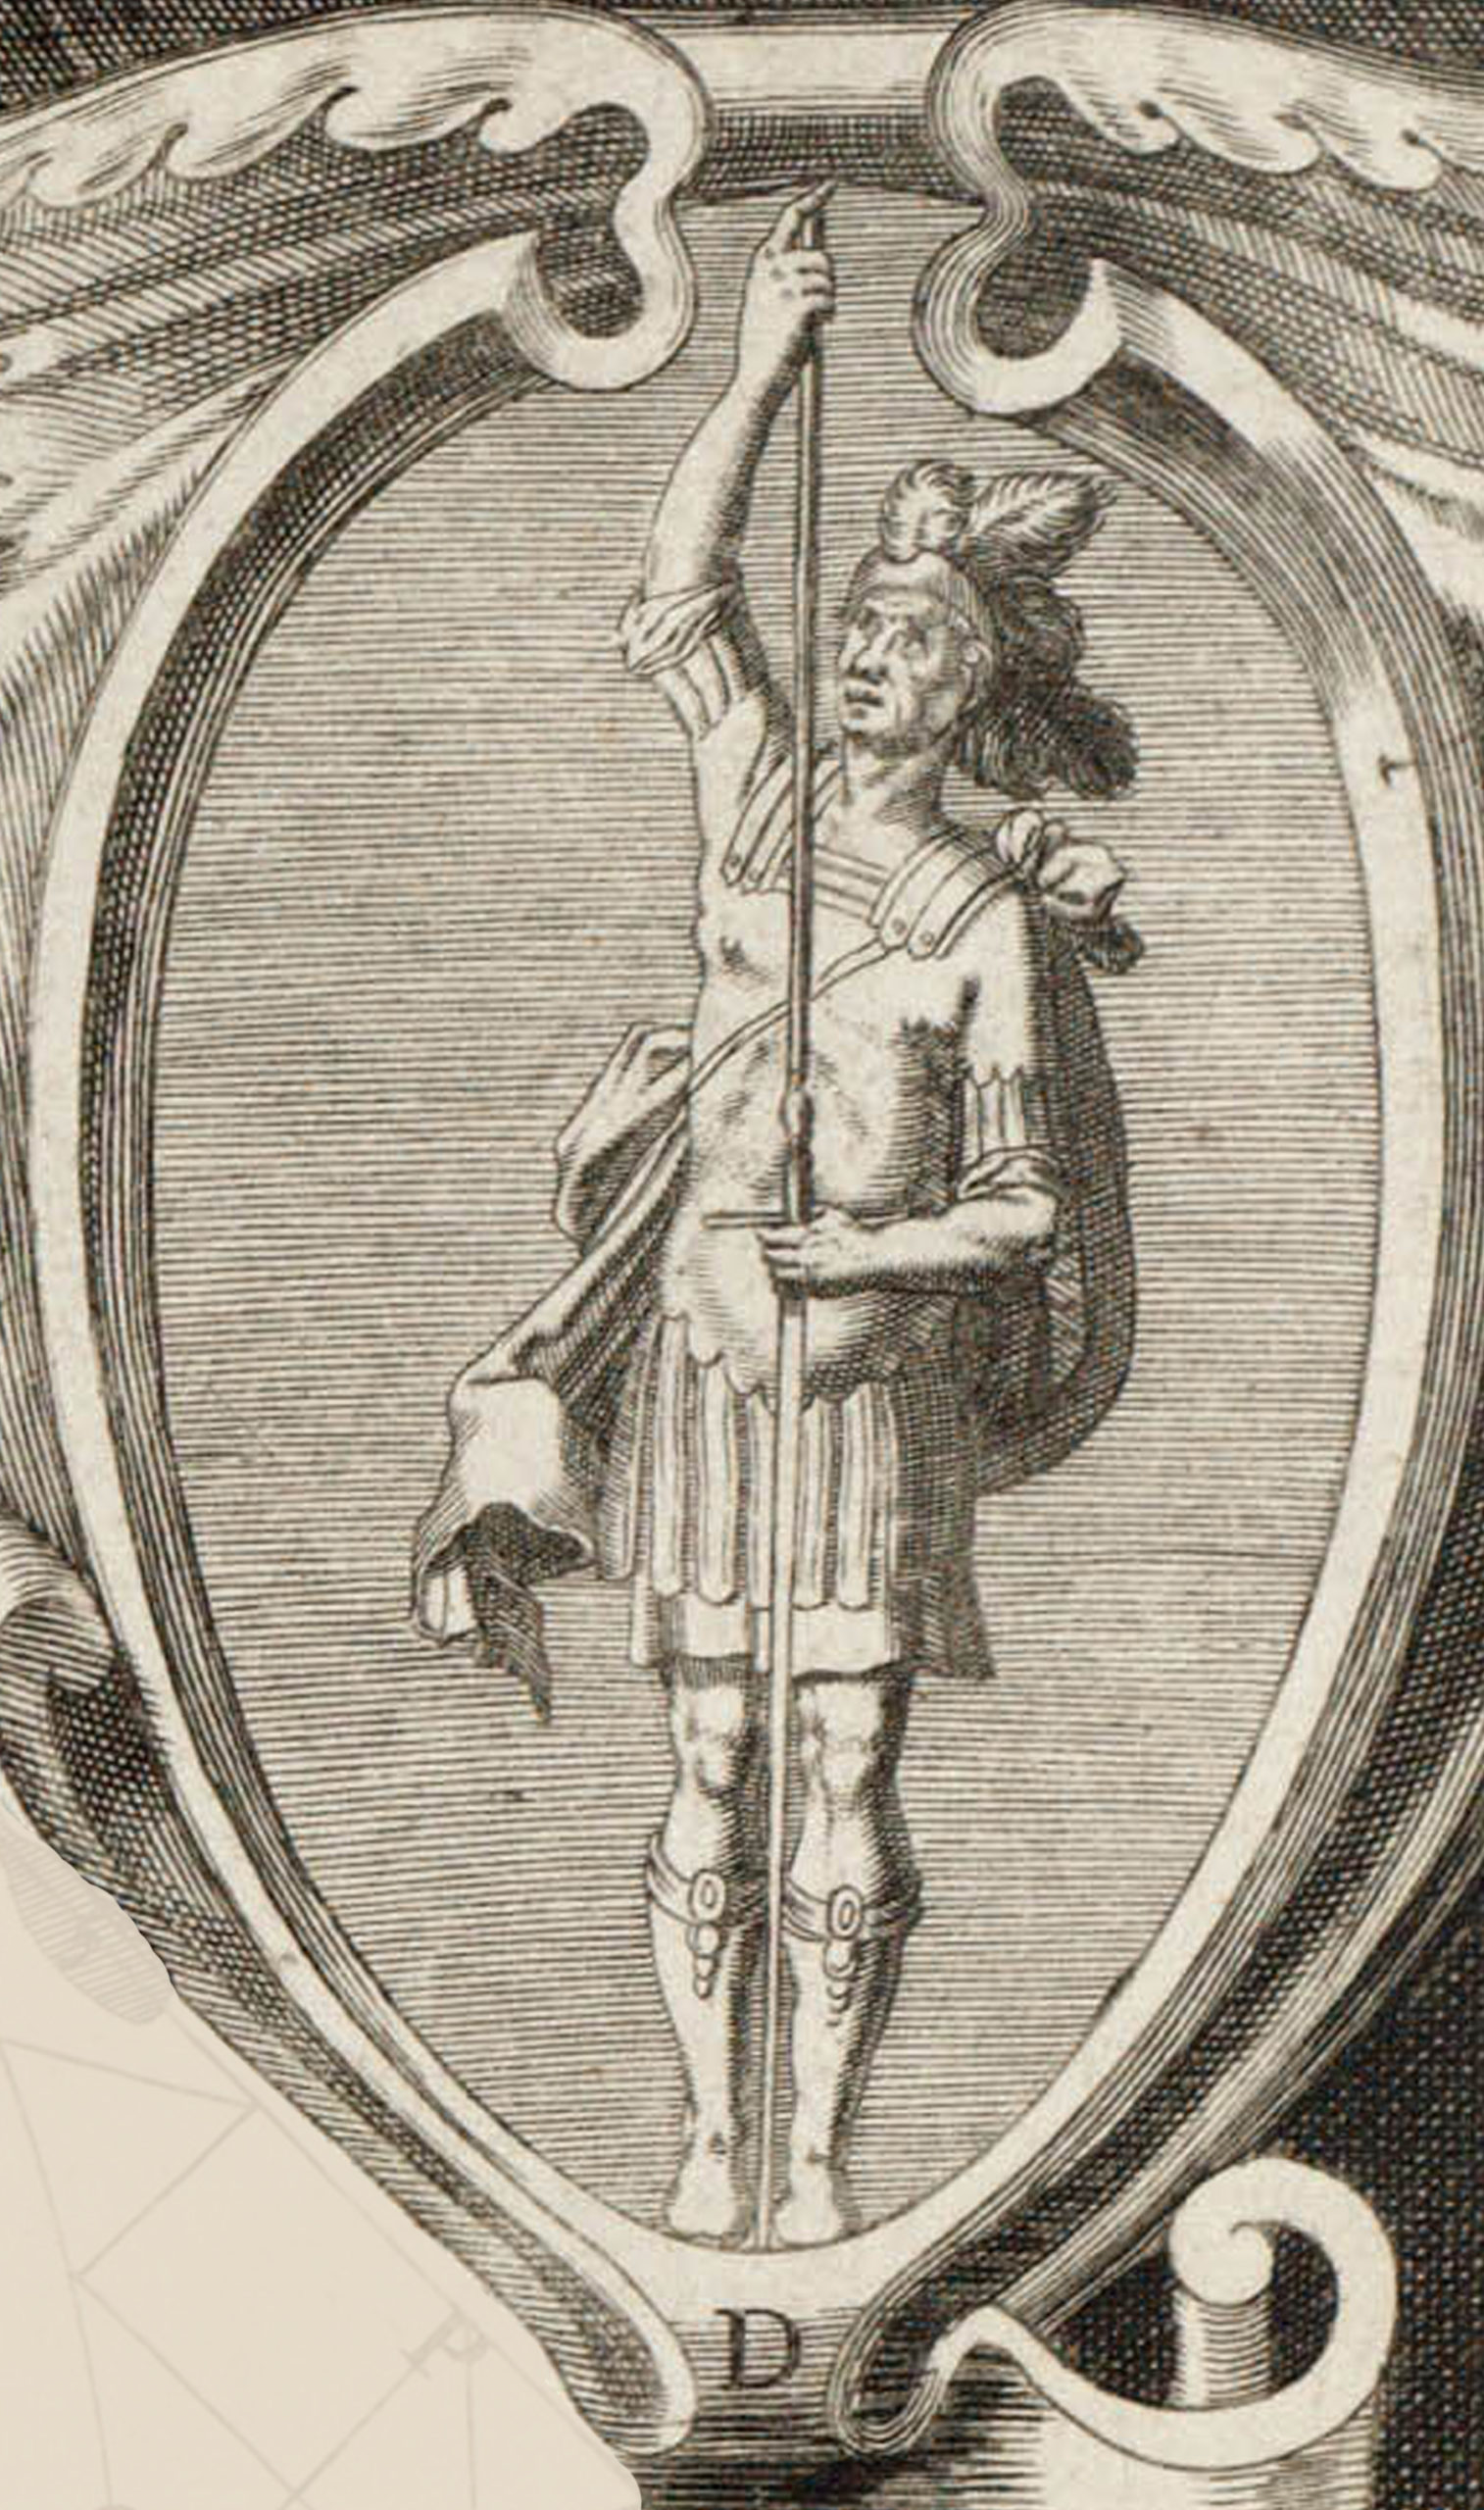
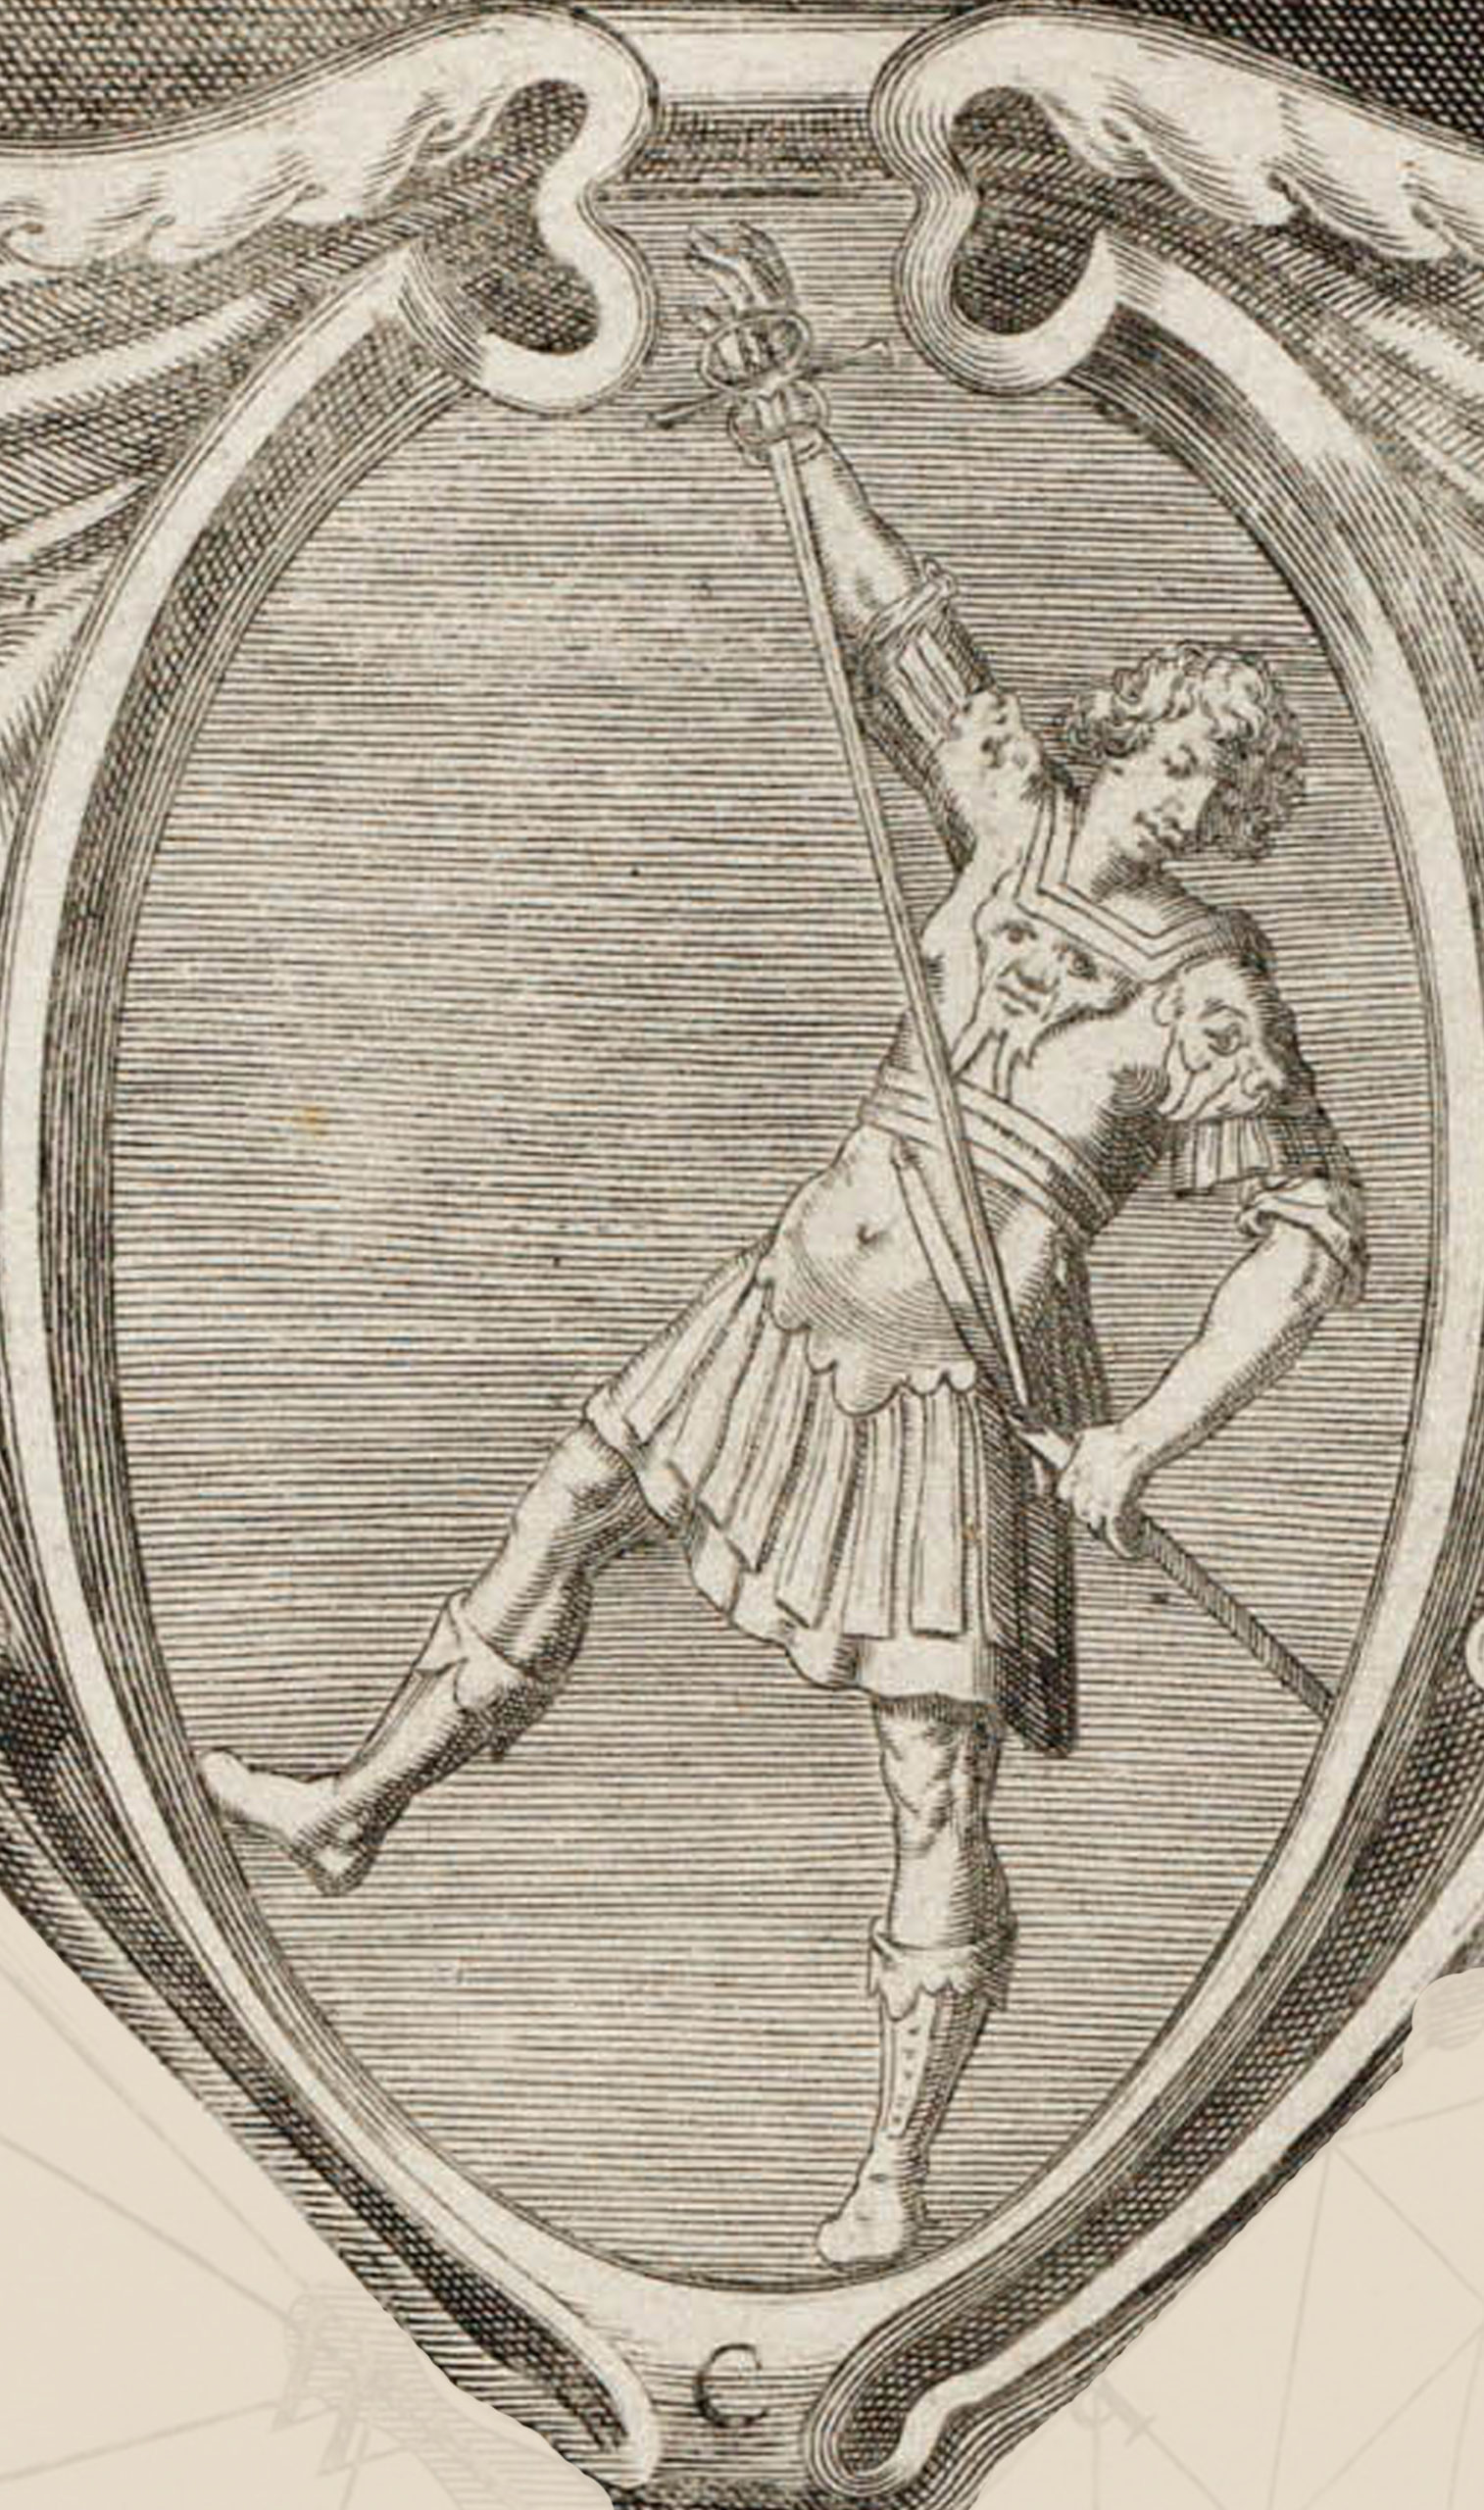
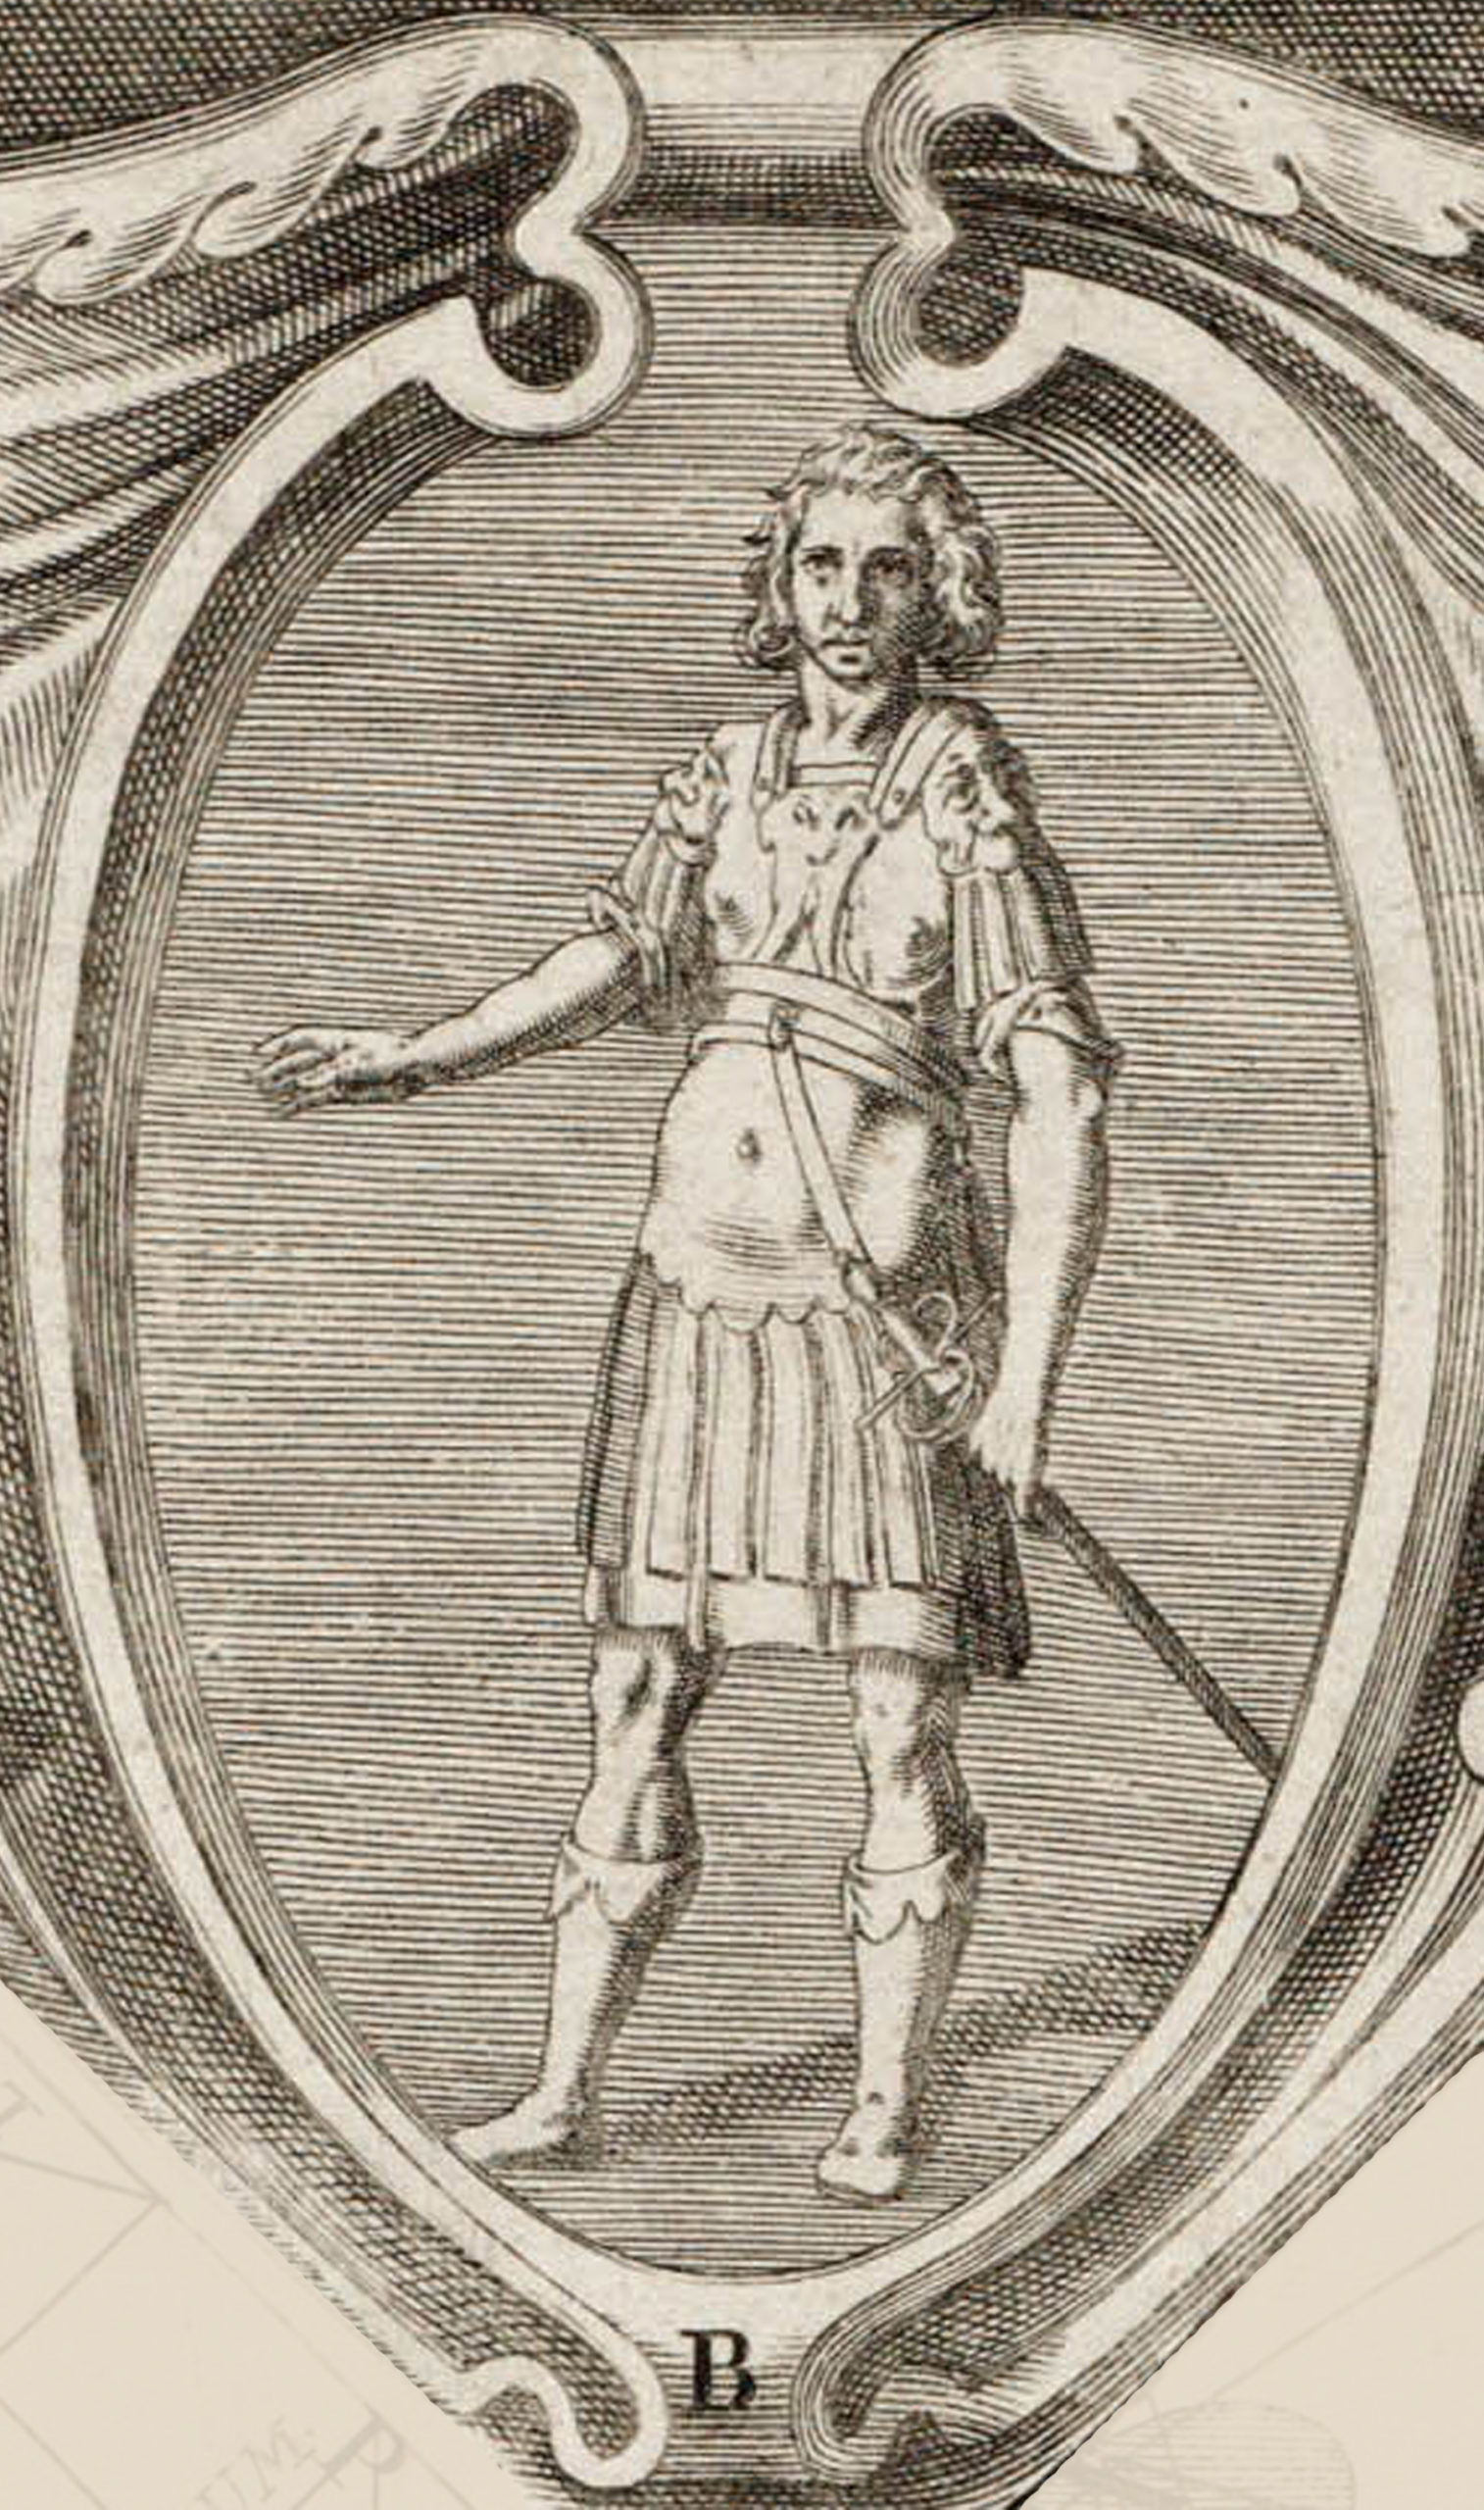
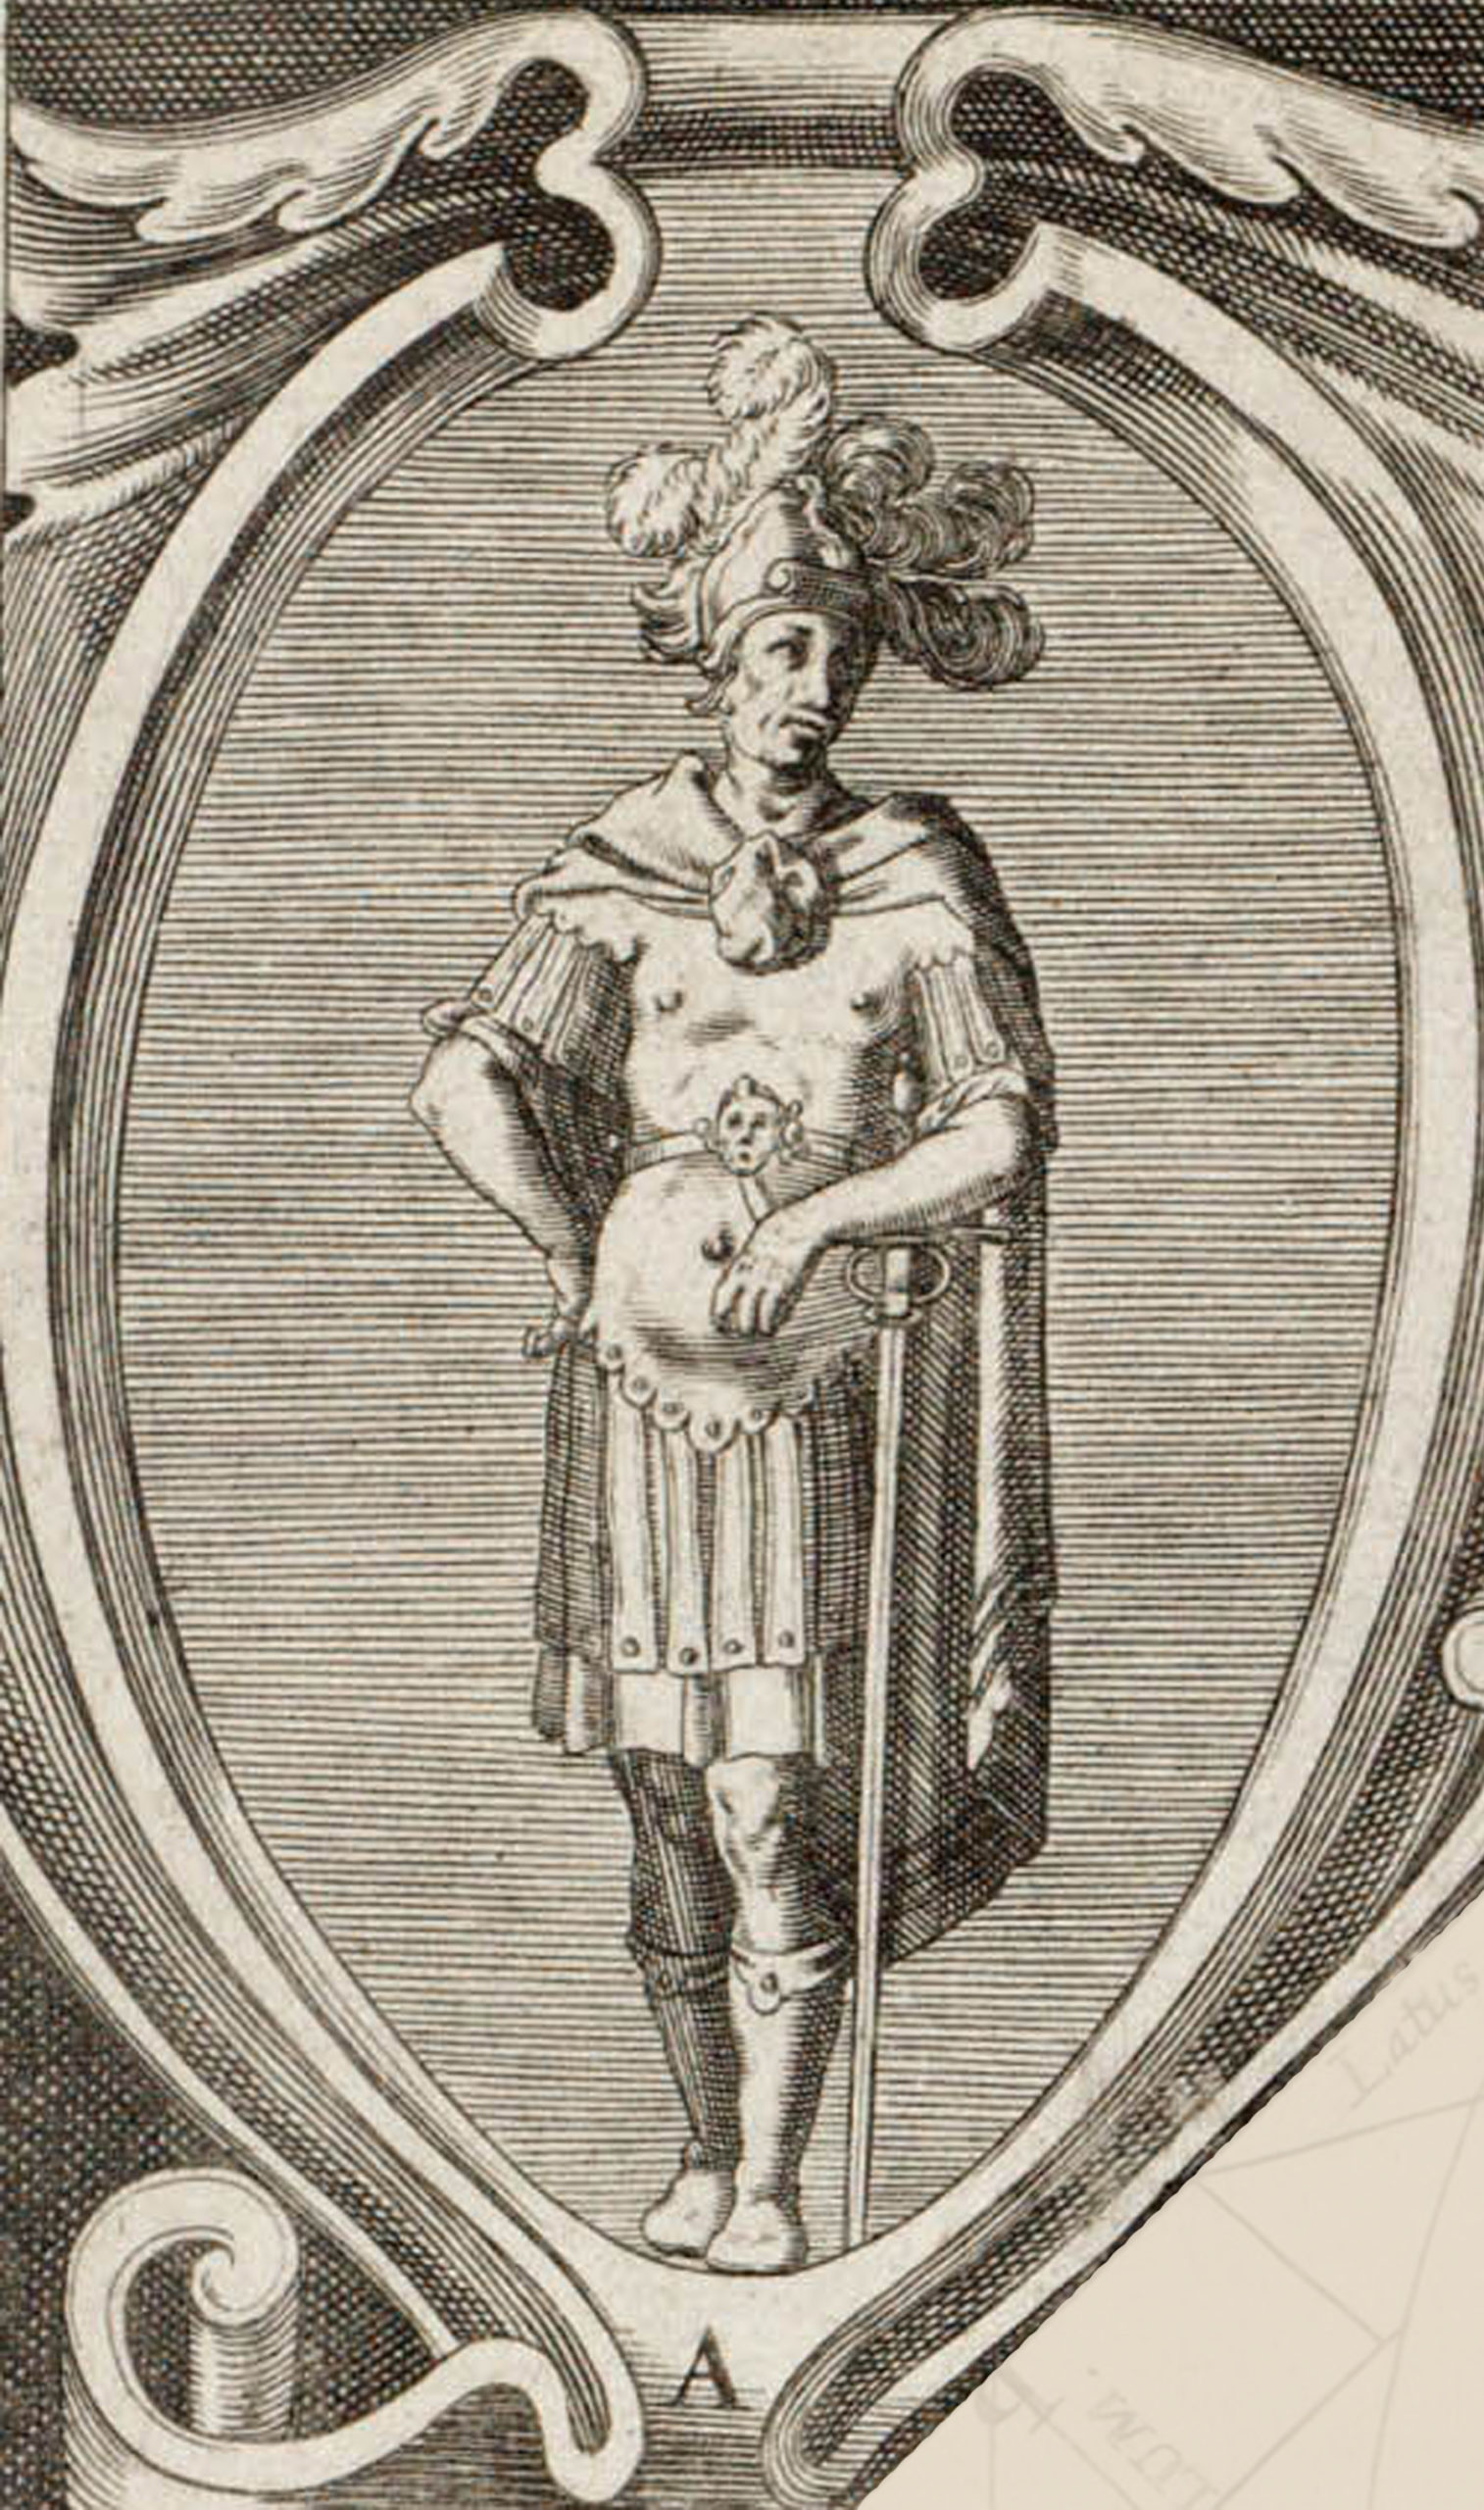
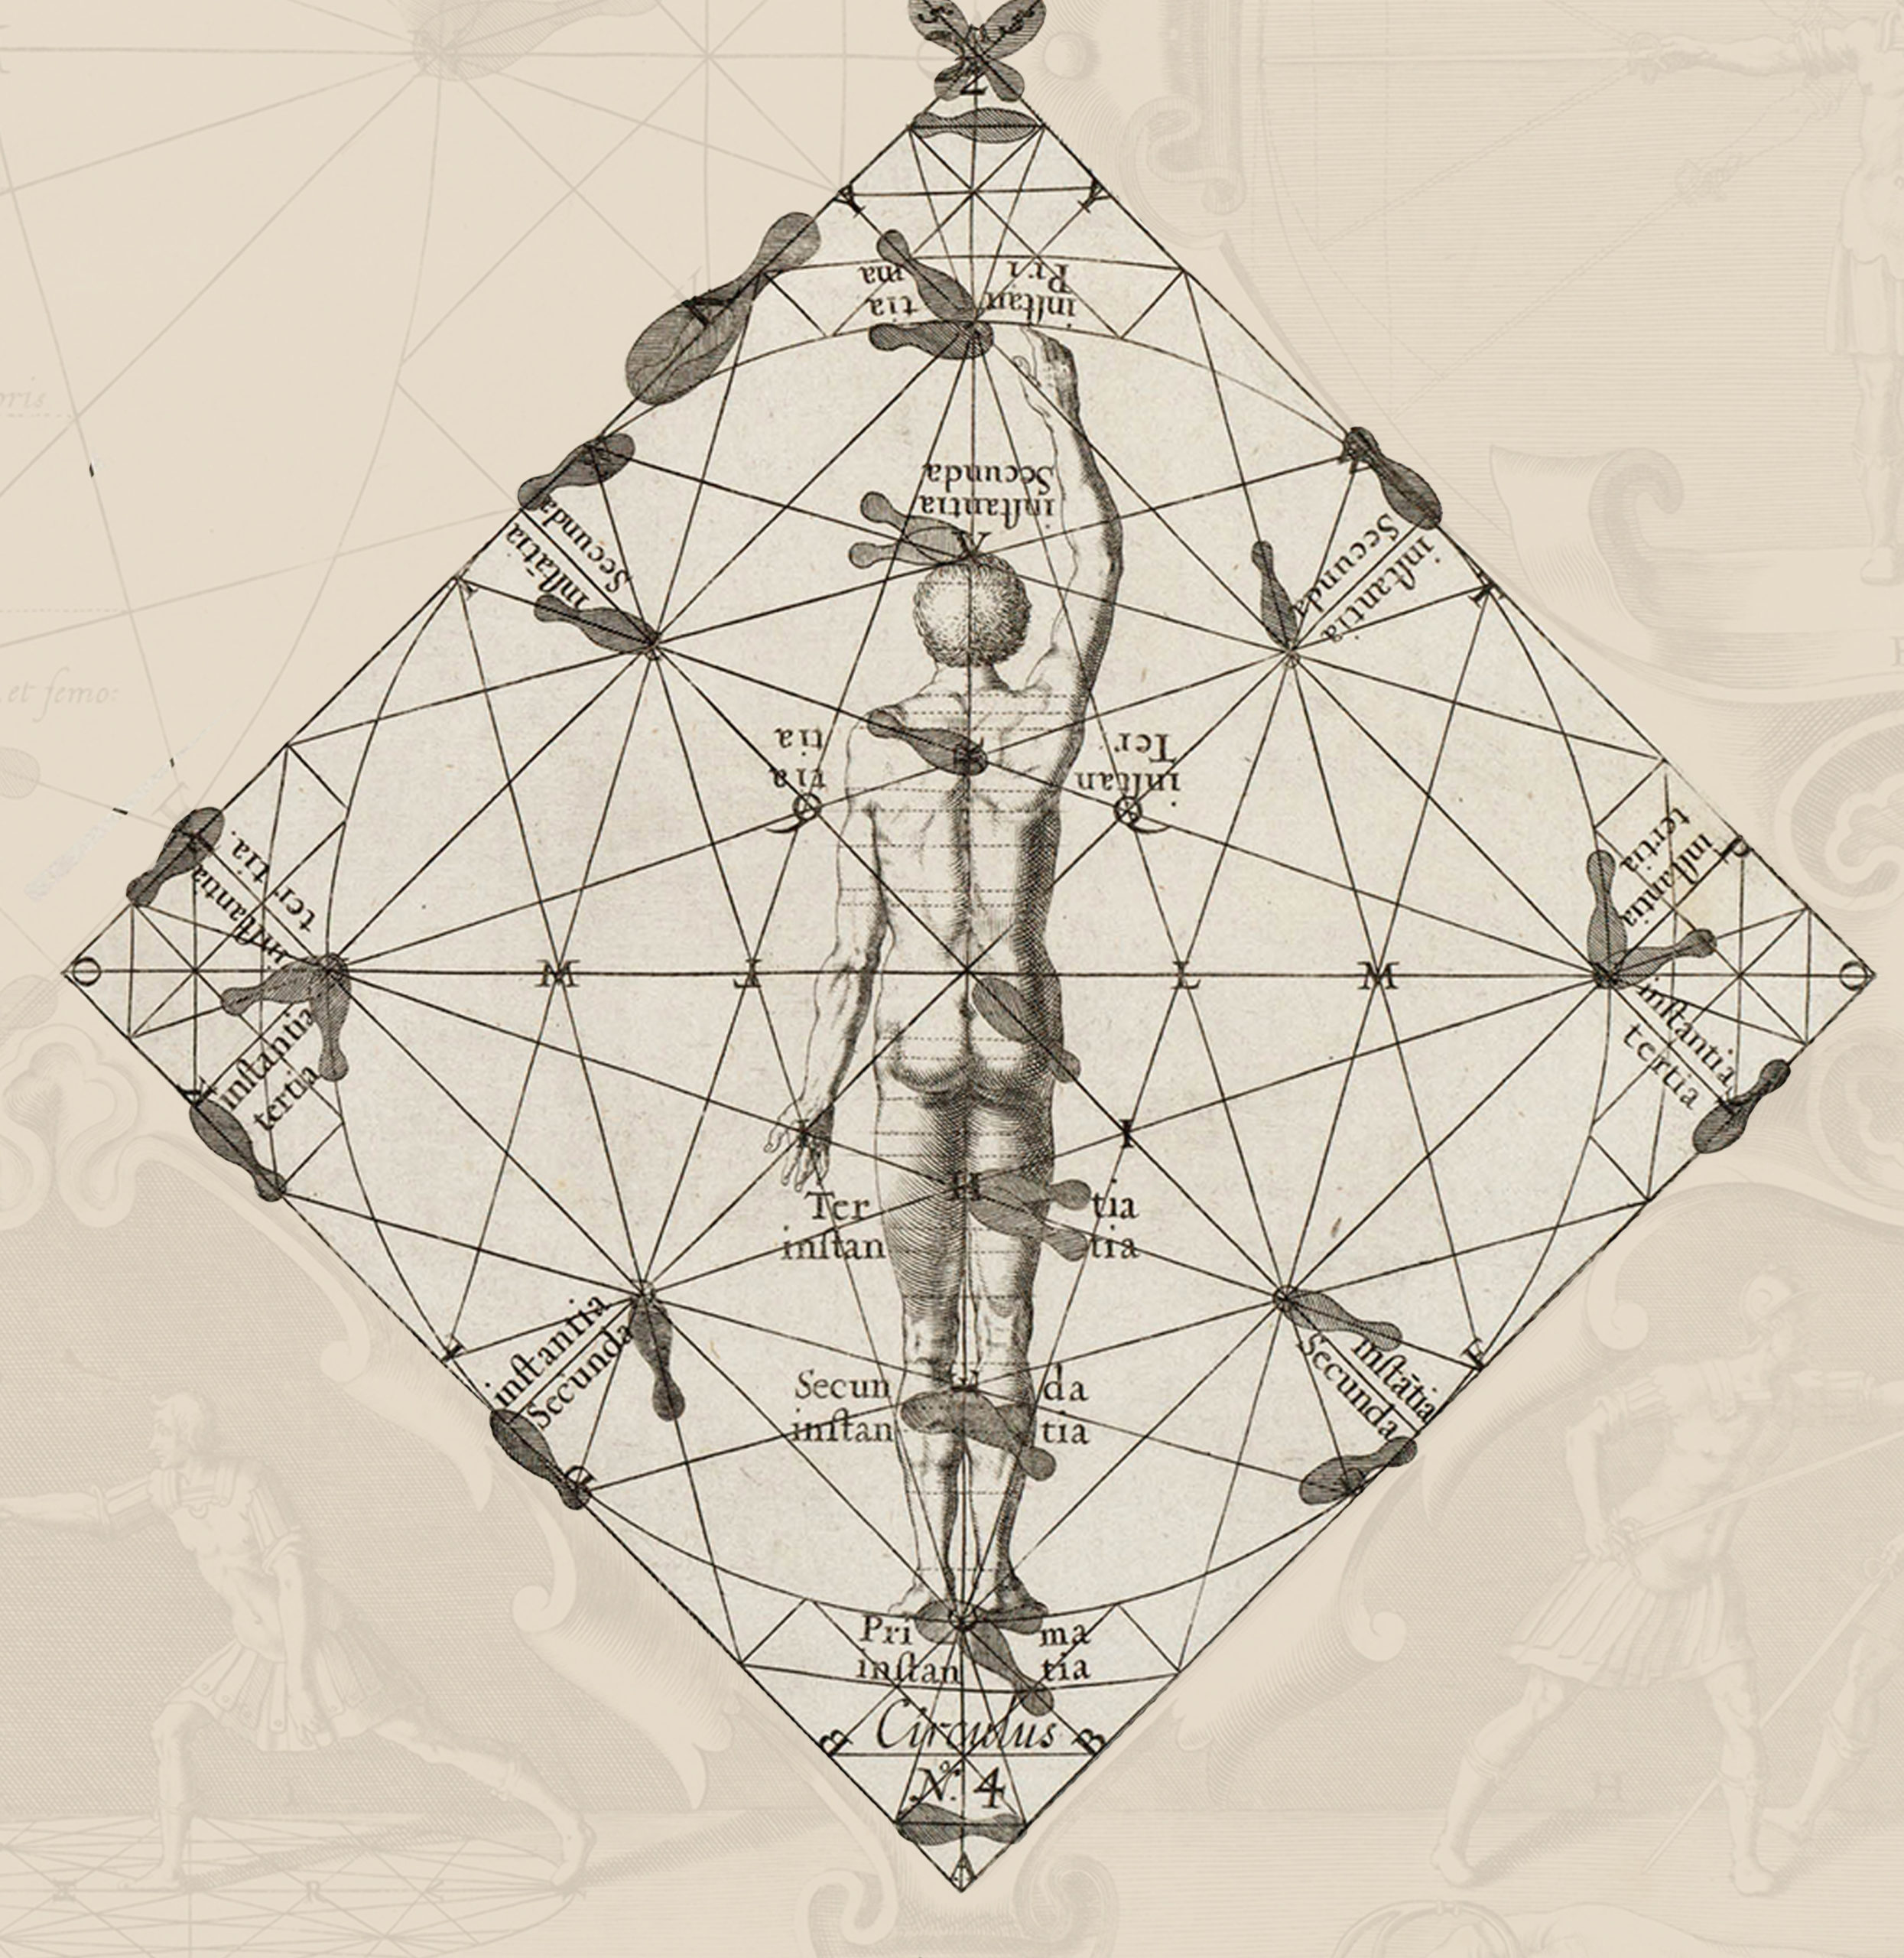
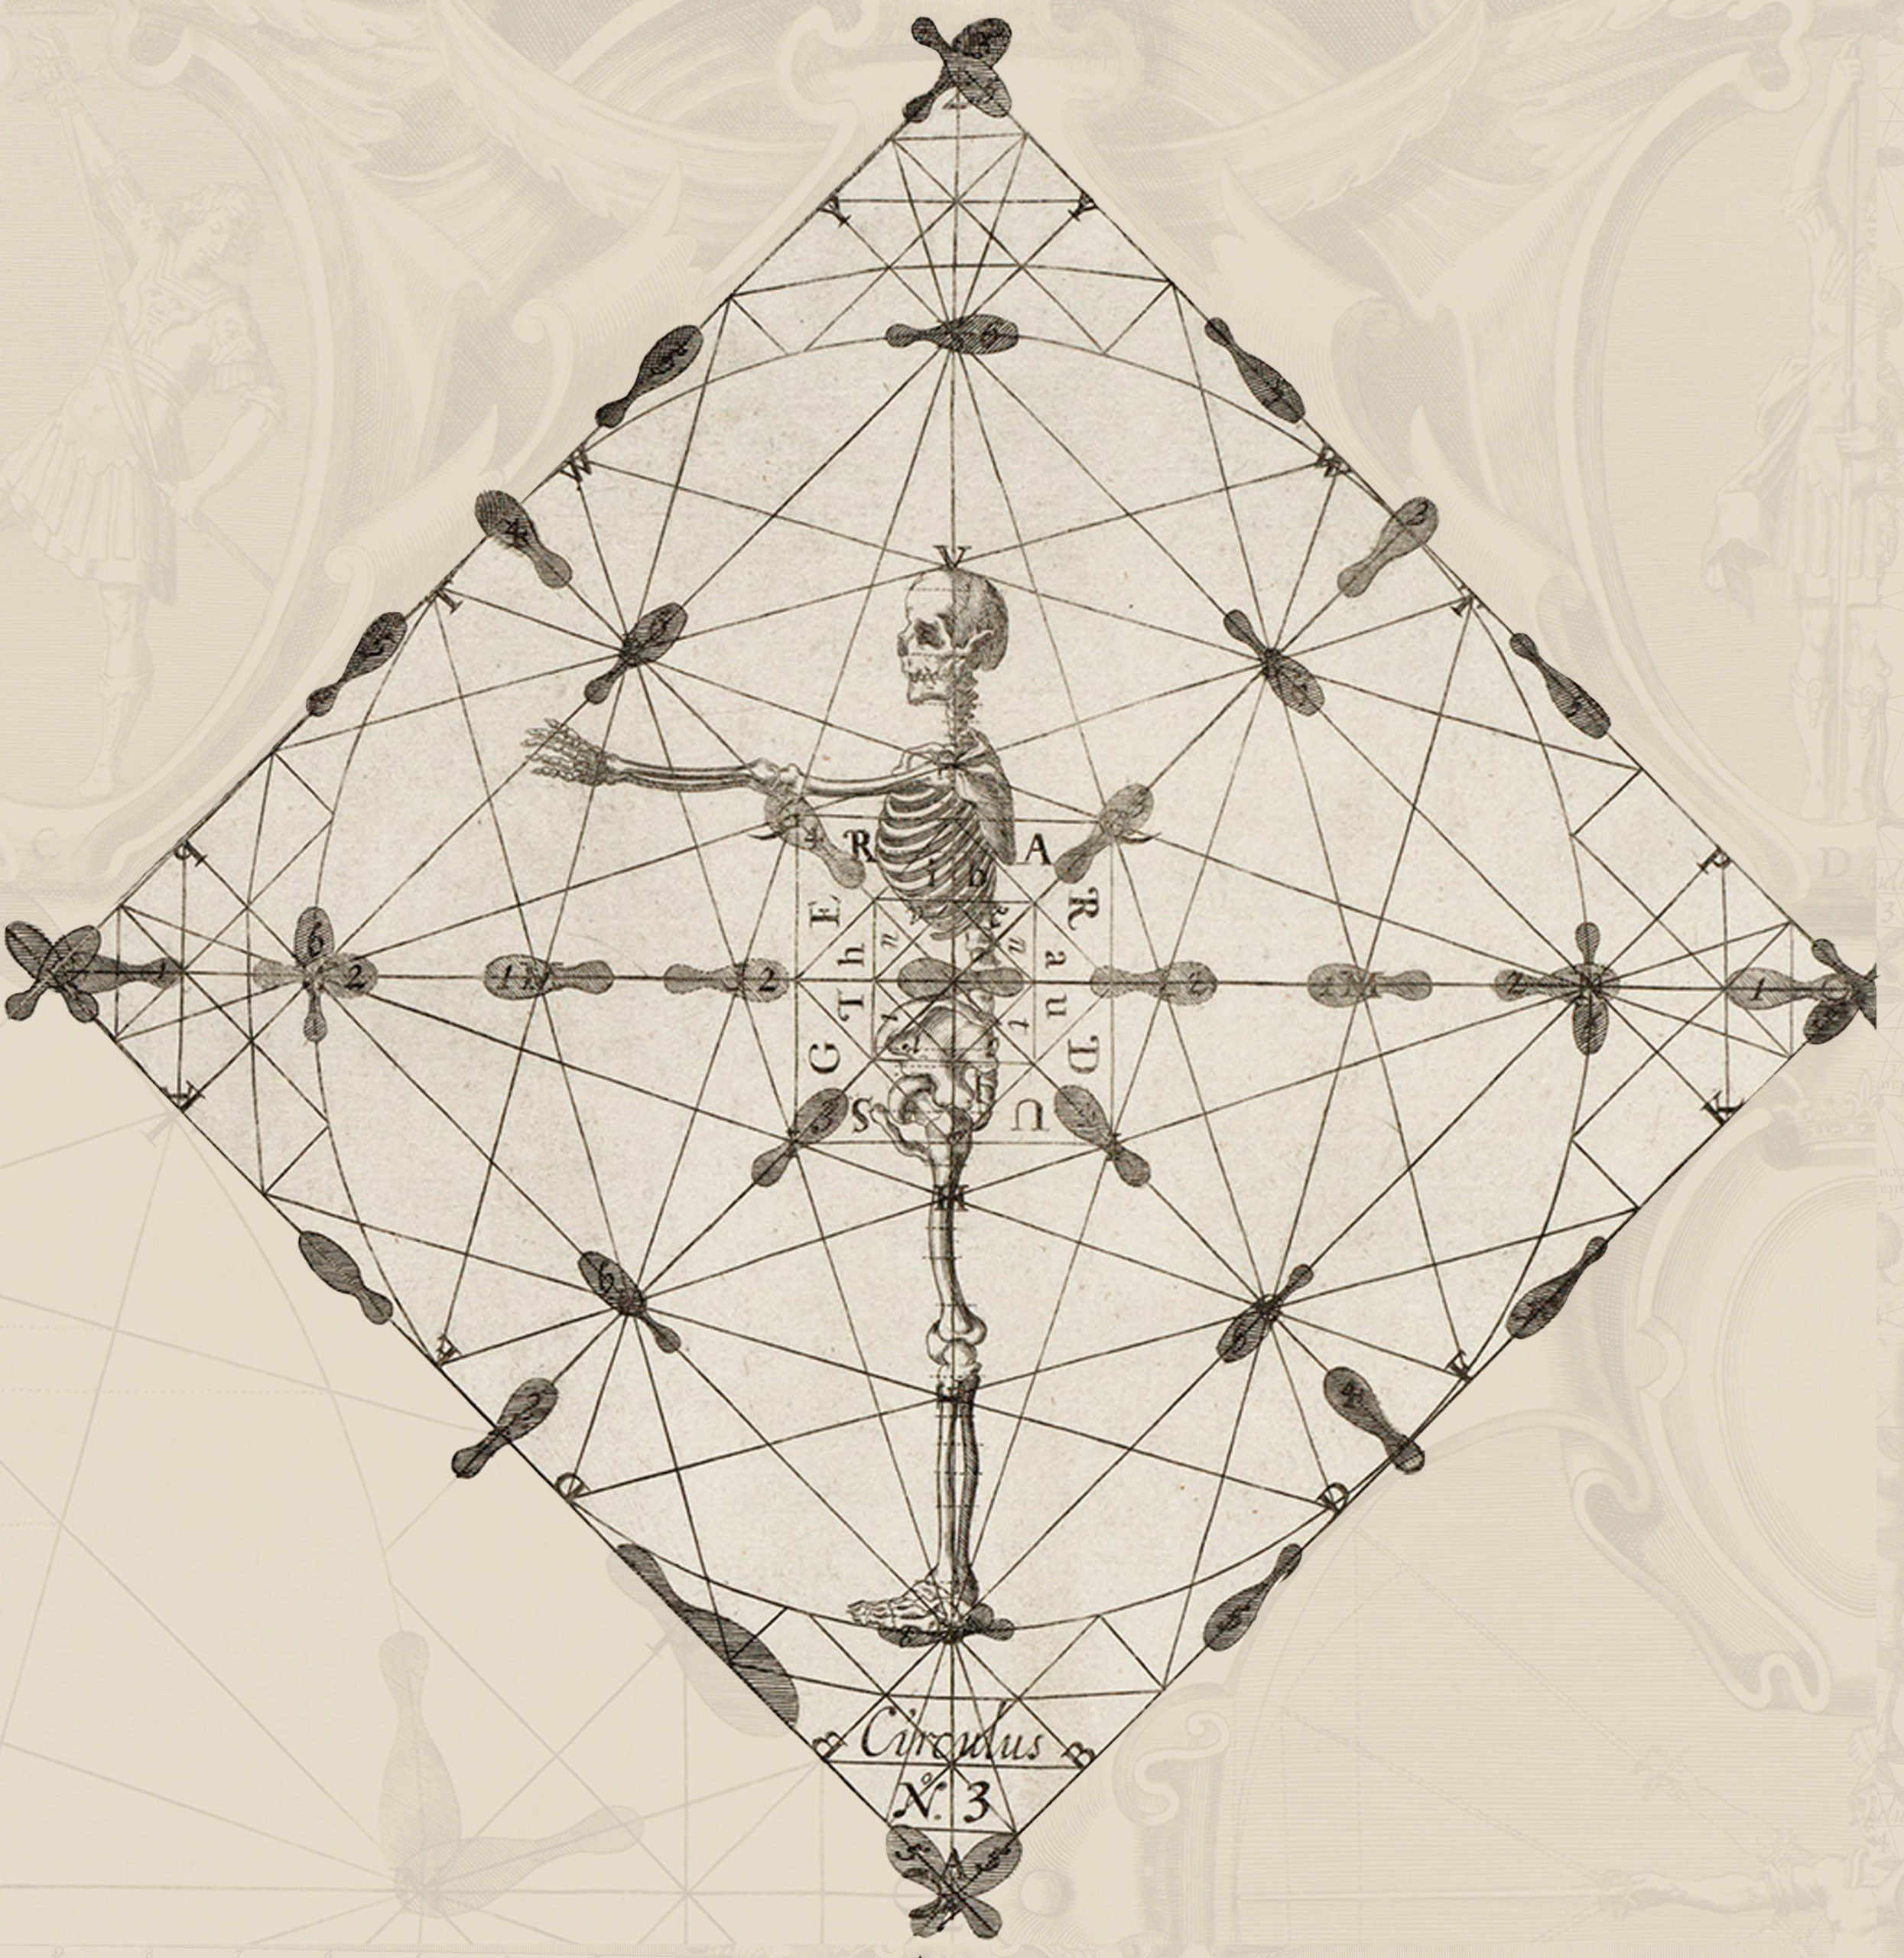
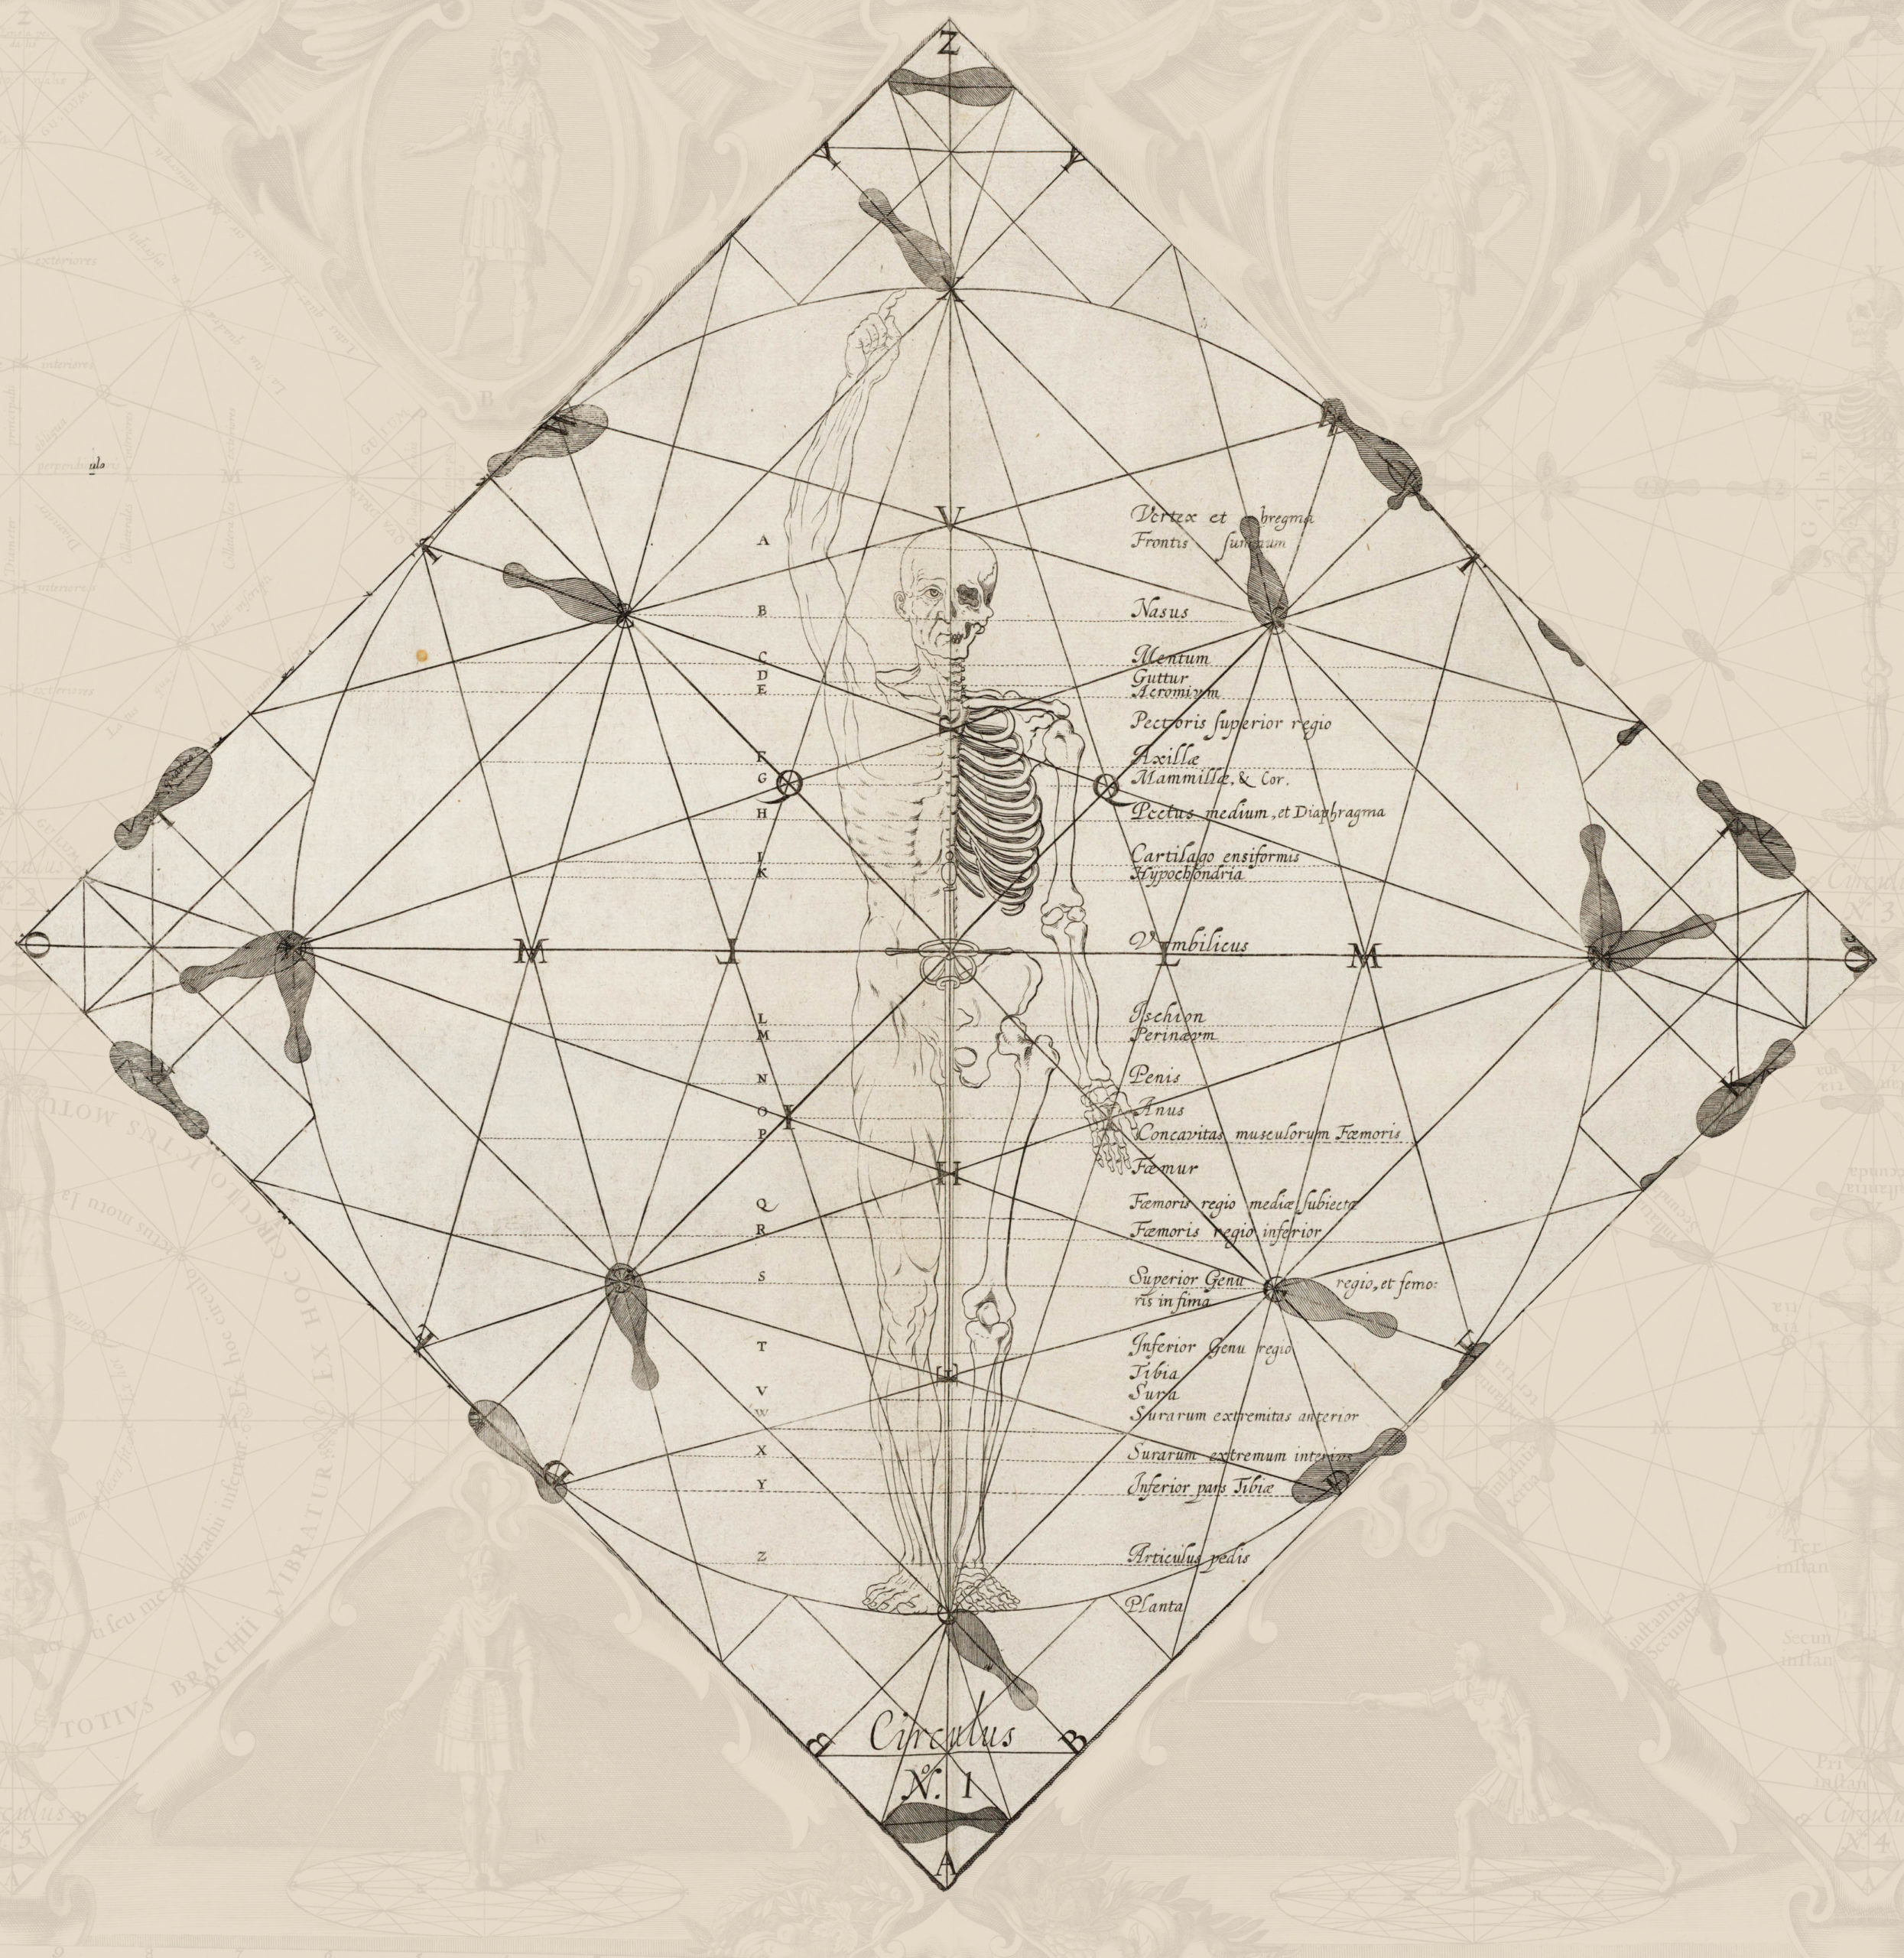
Perhaps one of the best examples of a Control Point-like system, however, comes from a seventeenth century wrestling treatise by Johann Georg Pascha (fig. 1). In the accompanying text, Pascha divides the head into strong and weak, the arms into strong, half-strong, and weak, and the legs and torso into strong, half-strong, and weak. While Pascha’s text was published in the late 17th Century, the rest of his work is remarkably consistent with earlier Germanic wrestling sources, so there is no good reason to assume that he invented this particular part of it out of whole cloth.
So, what purpose does a system like this serve? Primarily it helps to make analysis and discussion of training-related movement clearer and more precise. In chemistry, compounds are made up of elements which are, in turn made up of sub-atomic particles. Chemists seek to break down complex relationships into their smallest useful distinguishing components. In a similar manner, we seek to break down actions into their smallest useful distinguishing parts.
The simplest useful movement set is what I’ll refer to as a Component Action. Component Actions are simple movements which are executed at single Control Points. One or more Component Actions executed together make up an Action Group. One or more Action Groups executed in series make up a Technique. One or more Techniques executed in series make up an Exercise.
Breaking down actions and actions sets in this way allows us to refine our training at its smallest point, the component action, by understanding the purpose and execution of the smallest movements in our training. By doing this, we can determine which actions are necessary and which are unnecessary, what scale any given action needs to take, and how Action Groups need to be constructed.
Working in Component Actions also provides a mental tool for dealing with the two most difficult types of actions to learn: those that are completely unfamiliar and those that are very similar to familiar or well-trained actions. In the first case, understanding Component Actions and Control Points can give us a frame of reference for understanding what we are trying to make our bodies do. In the second case, the familiarity of one action can get in the way of being able to learn and execute similar, but necessarily different actions. Training in Component Actions allows us to look at movement from a more detailed perspective than we are used to, thus bypassing some of the familiarity that is getting in our way.
Laying out the Vertical Axis and Planes:

We will begin with laying out the vertical planes. I’m using the term planes, as opposed to lines, to denote that these should be imagined as two-dimensional surfaces extending through the human body and extending beyond it. They are represented here as lines because we are seeing them edge-on.
It is also worth noting that the directions Left and Right, unless otherwise specified, are described from the perspective of the person whose planes are being referenced. In other words, if you take the planes as being constructed in reference to your own body, then the terms Left and Right will match your perspective. If, on the other hand, you are laying the planes out on another person, the terms Left and Right indicate the directions as that person experiences them.
These planes will form the basis of identifying the control points and will help to define the various postures and extensions that will be seen later on in this work.
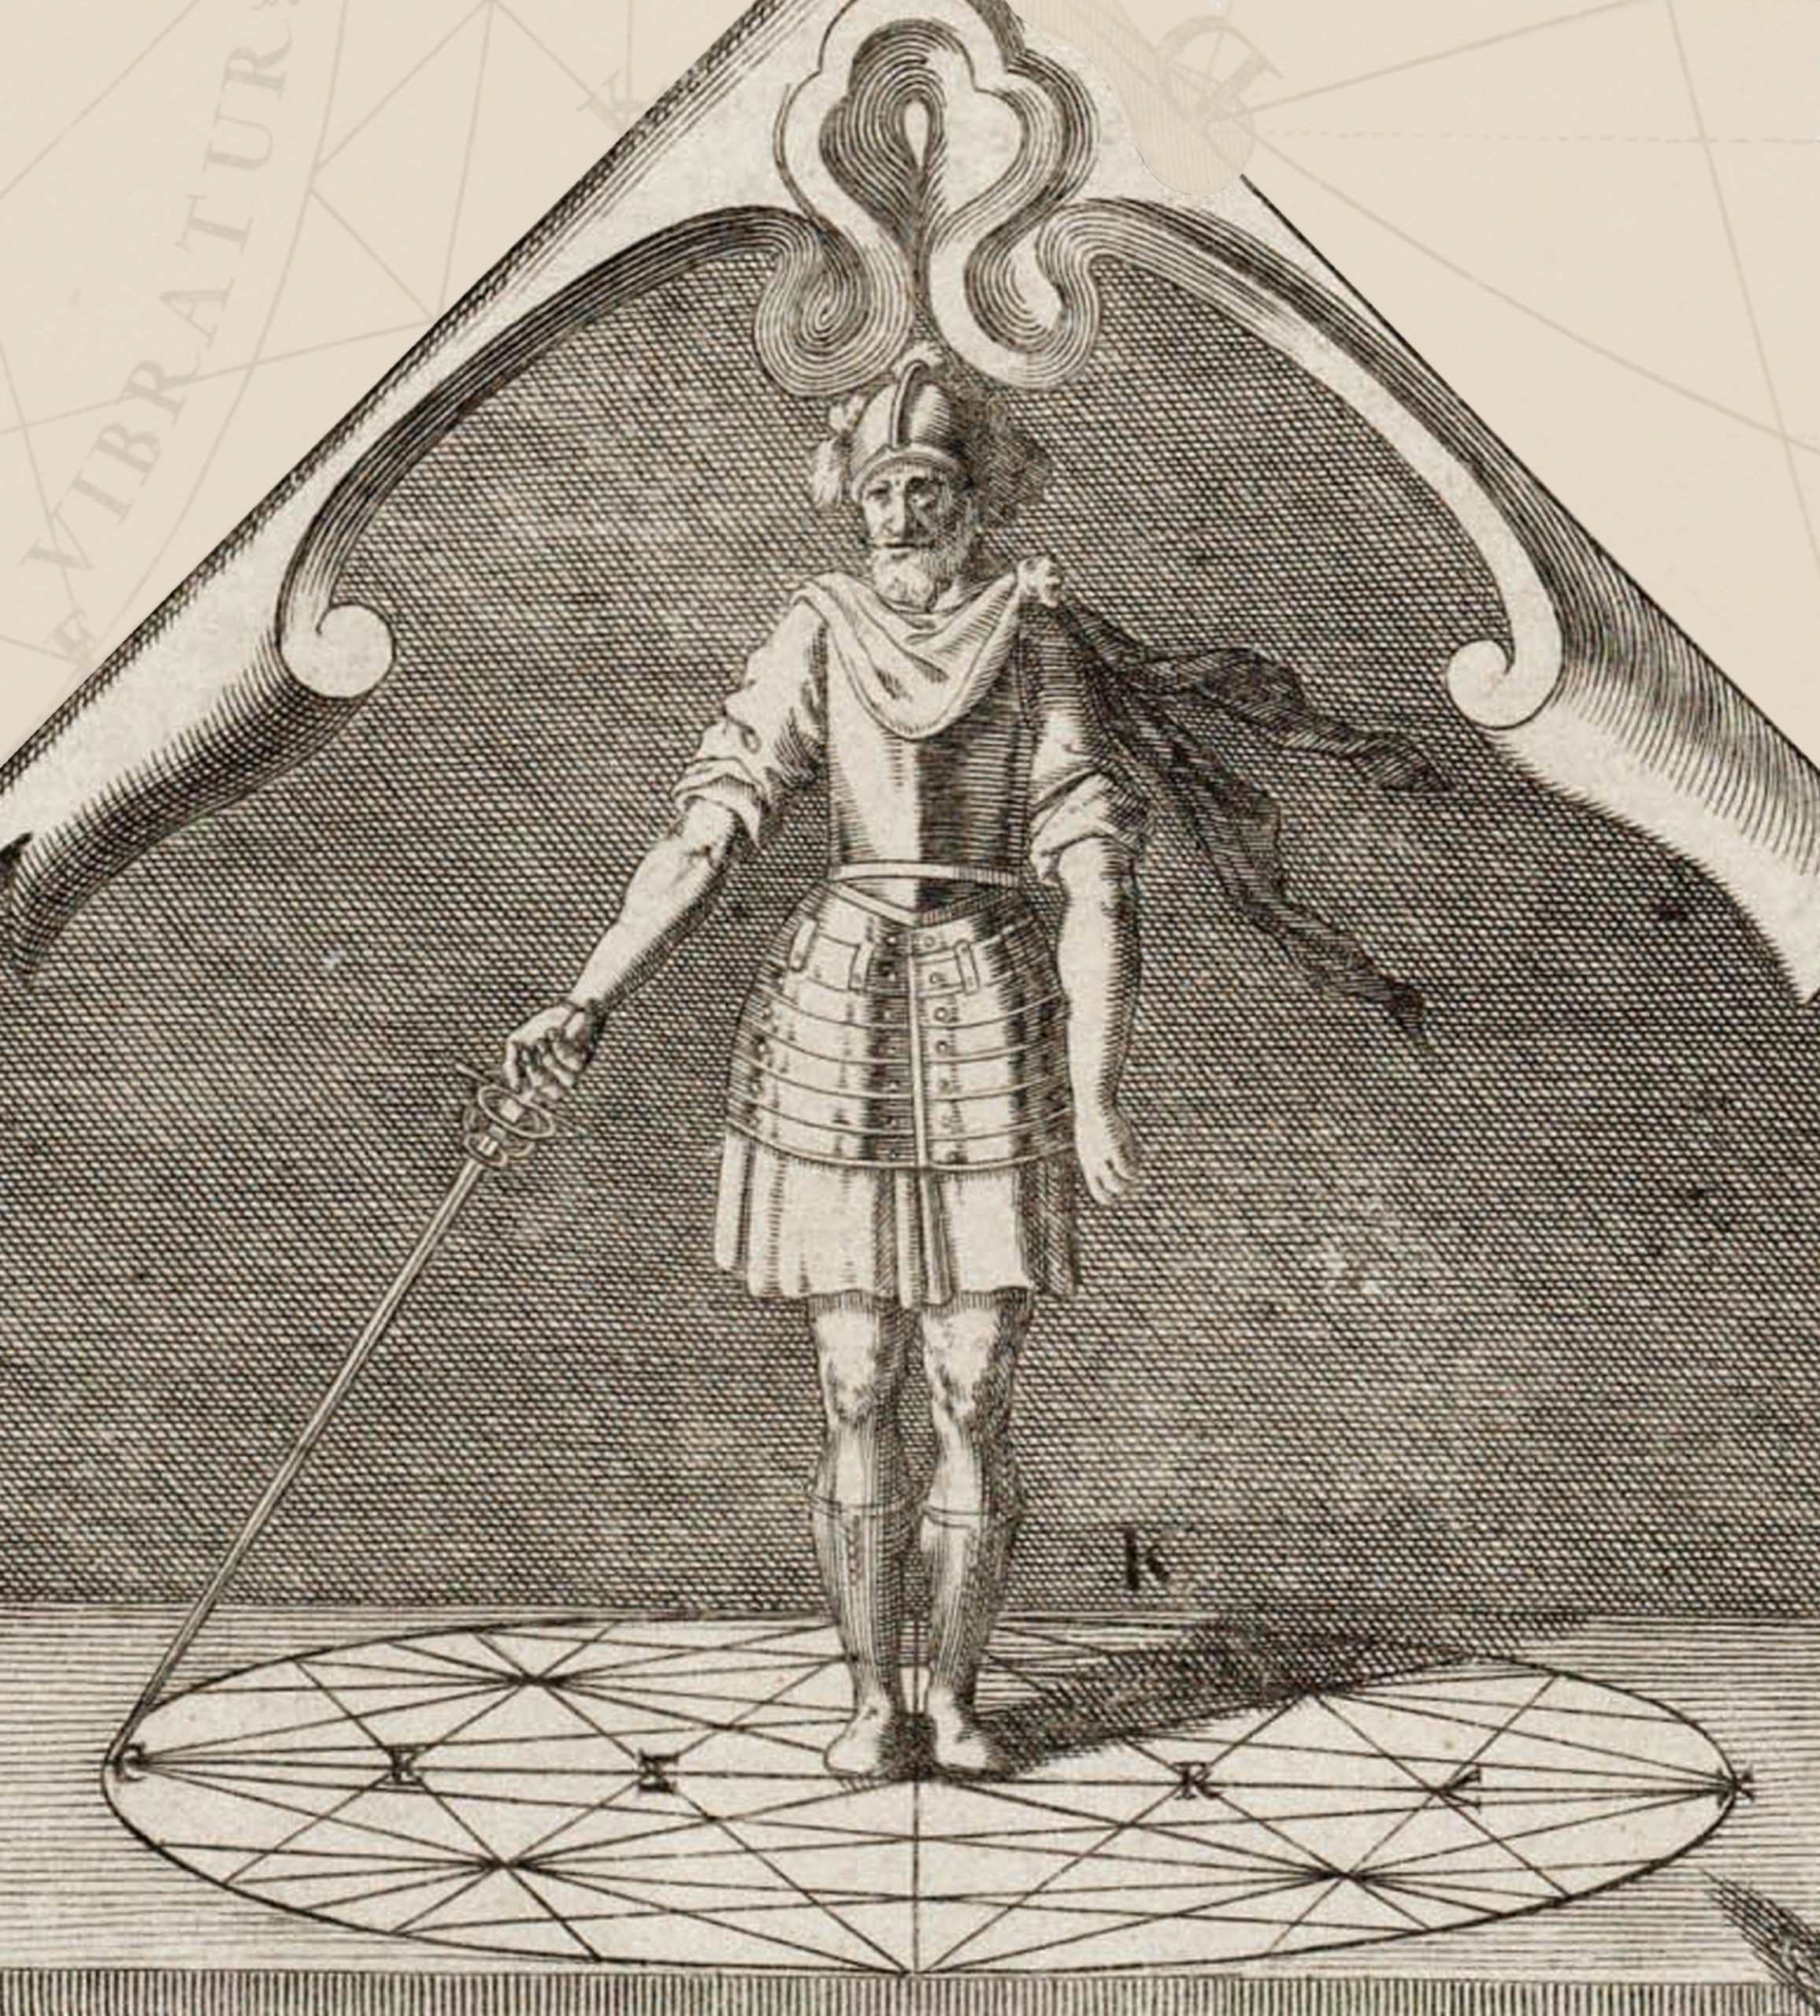
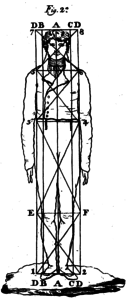
The first plane to consider is the Profile Plane (fig 2: line E-H), which extends through the body in a line through the shoulders. The Profile Plane is the reference to which we will orient all of the remaining planes.
At right angles to the Profile Plane are the three Square Planes: the Left Square (fig 2: line A-A) which cuts through the left shoulder and hip, the Right Square (fig 2: line C-C) which the Left Square’s equivalent on the right side, and the Center Square (fig 2: line B-B) which bisects the body left to right, cutting through the sternum and the spine. These can either be referenced individually by their names, or collectively to indicate direction by simply referencing the Square Plane.
The three axis are formed by the intersections of the individual Square Planes with the Profile Plane. They are the Left Axis, Center Axis and Right Axis and are each named after the Square Plane that cuts through them. These axis will be used to clarify the differing ways that the body can be rotated as part of our footwork.
The final set of planes cut through the Left and Right Axis at approximately 45° to the Profile Plane. They are named, in part, after the axis that they pass through. On the left side, are the Left Inner Half-Profile (fig 2: line F-B) and the Left Outer Half-Profile (fig 2: line B-D). On the right side are the Right Inner Half-Profile (fig 2: line B-J) and the Right Outer Half-Profile (fig 2: line B:G).
Laying out the Horizontal Planes:

Having laid out the Vertical Planes and Axis, let’s take a look at the body from the front and side in a standing posture. To the left of Fig 3, we can see the line representing the profile plane. Likewise, on the right side, the Right Axis, Center Axis, and Left Axis have been labeled as A, B, and C respectively.
In order to find our control points, we will lay out six horizontal planes as follows:
- The first passes through the eyes and is called the Ocular Plane (fig 3, line 1).
- The second passes through the shoulders and throat and is called the Throat Plane (fig 3, line 2).
- The third passes through the Elbows and the natural waist and is called the Waist Plane (fig 3, line 3).
- The fourth passes through the wrists, hips and pelvis and is called the Pelvic Plane (fig 3, line 4).
- The fifth passes through the knees and is called the Plane of the Knees (fig 3, line 5).
- The sixth passes through the ankles and is called the Plane of the Ankles (fig 3, line 6).
Identifying the Control Points:
Control Points represent a simplified way of looking at how the body can be moved either voluntarily or involuntarily. In this context, voluntary manipulation refers to a person moving under their own power, whereas involuntary manipulation refers to a person being moved by someone else. The eighteen control points that we will identify below represent those points around which voluntary manipulation can be said to occur or at which involuntary manipulation can be applied to best effect.
These points are as follows:
- Head – Intersection of the Center Axis and the Ocular Plane.
- Throat/Neck – Intersection of the Center Axis and the Throat Plane.
- Right Shoulder – Intersection of the Right Axis and the Throat Plane.
- Left Shoulder – Intersection of the Left Axis and the Throat Plane.
- Xiphoid Process – Intersection of the Center Axis and the Waist Plane.
- Base of the Floating Ribs on the Right Side – Intersection of the Right Axis and the Waist Plane.
- Base of the Floating Ribs on the Left Side – Intersection of the Left Axis and the Waist Plane.
- Right Elbow – Waist Plane, just outside of the Right Axis.
- Left Elbow – Waist Plane, just outside of the Left Axis.
- Pelvis – Intersection of the Center Axis and the Pelvic Plane.
- Right Hip – Intersection of the Right Axis and the Pelvic Plane.
- Left Hip – Intersection of the Left Axis and the Pelvic Plane.
- Right Wrist – Pelvic Plane, just outside of the Right Axis.
- Left Wrist – Pelvic Plane, just outside of the Left Axis.
- Right Knee – Intersection of the Right Axis and the Plane of the Knees.
- Left Knee – Intersection of the Left Axis and the Plane of the Knees.
- Right Ankle – Intersection of the Right Axis and the Plane of the Ankles.
- Left Ankle – Intersection of the Left Axis and the Plane of the Ankles.
Movement at the Control Points:
The Head is unique among the control points in that it acts as a lever rather than as a joint. Given this, it is a control point which can only be manipulated involuntarily, though it can be displaced as a result of the joint movement of the throat. The remaining control points can be classified according to three basic kinds of joint movements: Hinge Rotation, Axial and Compound Rotation, and Expansion and Contraction.

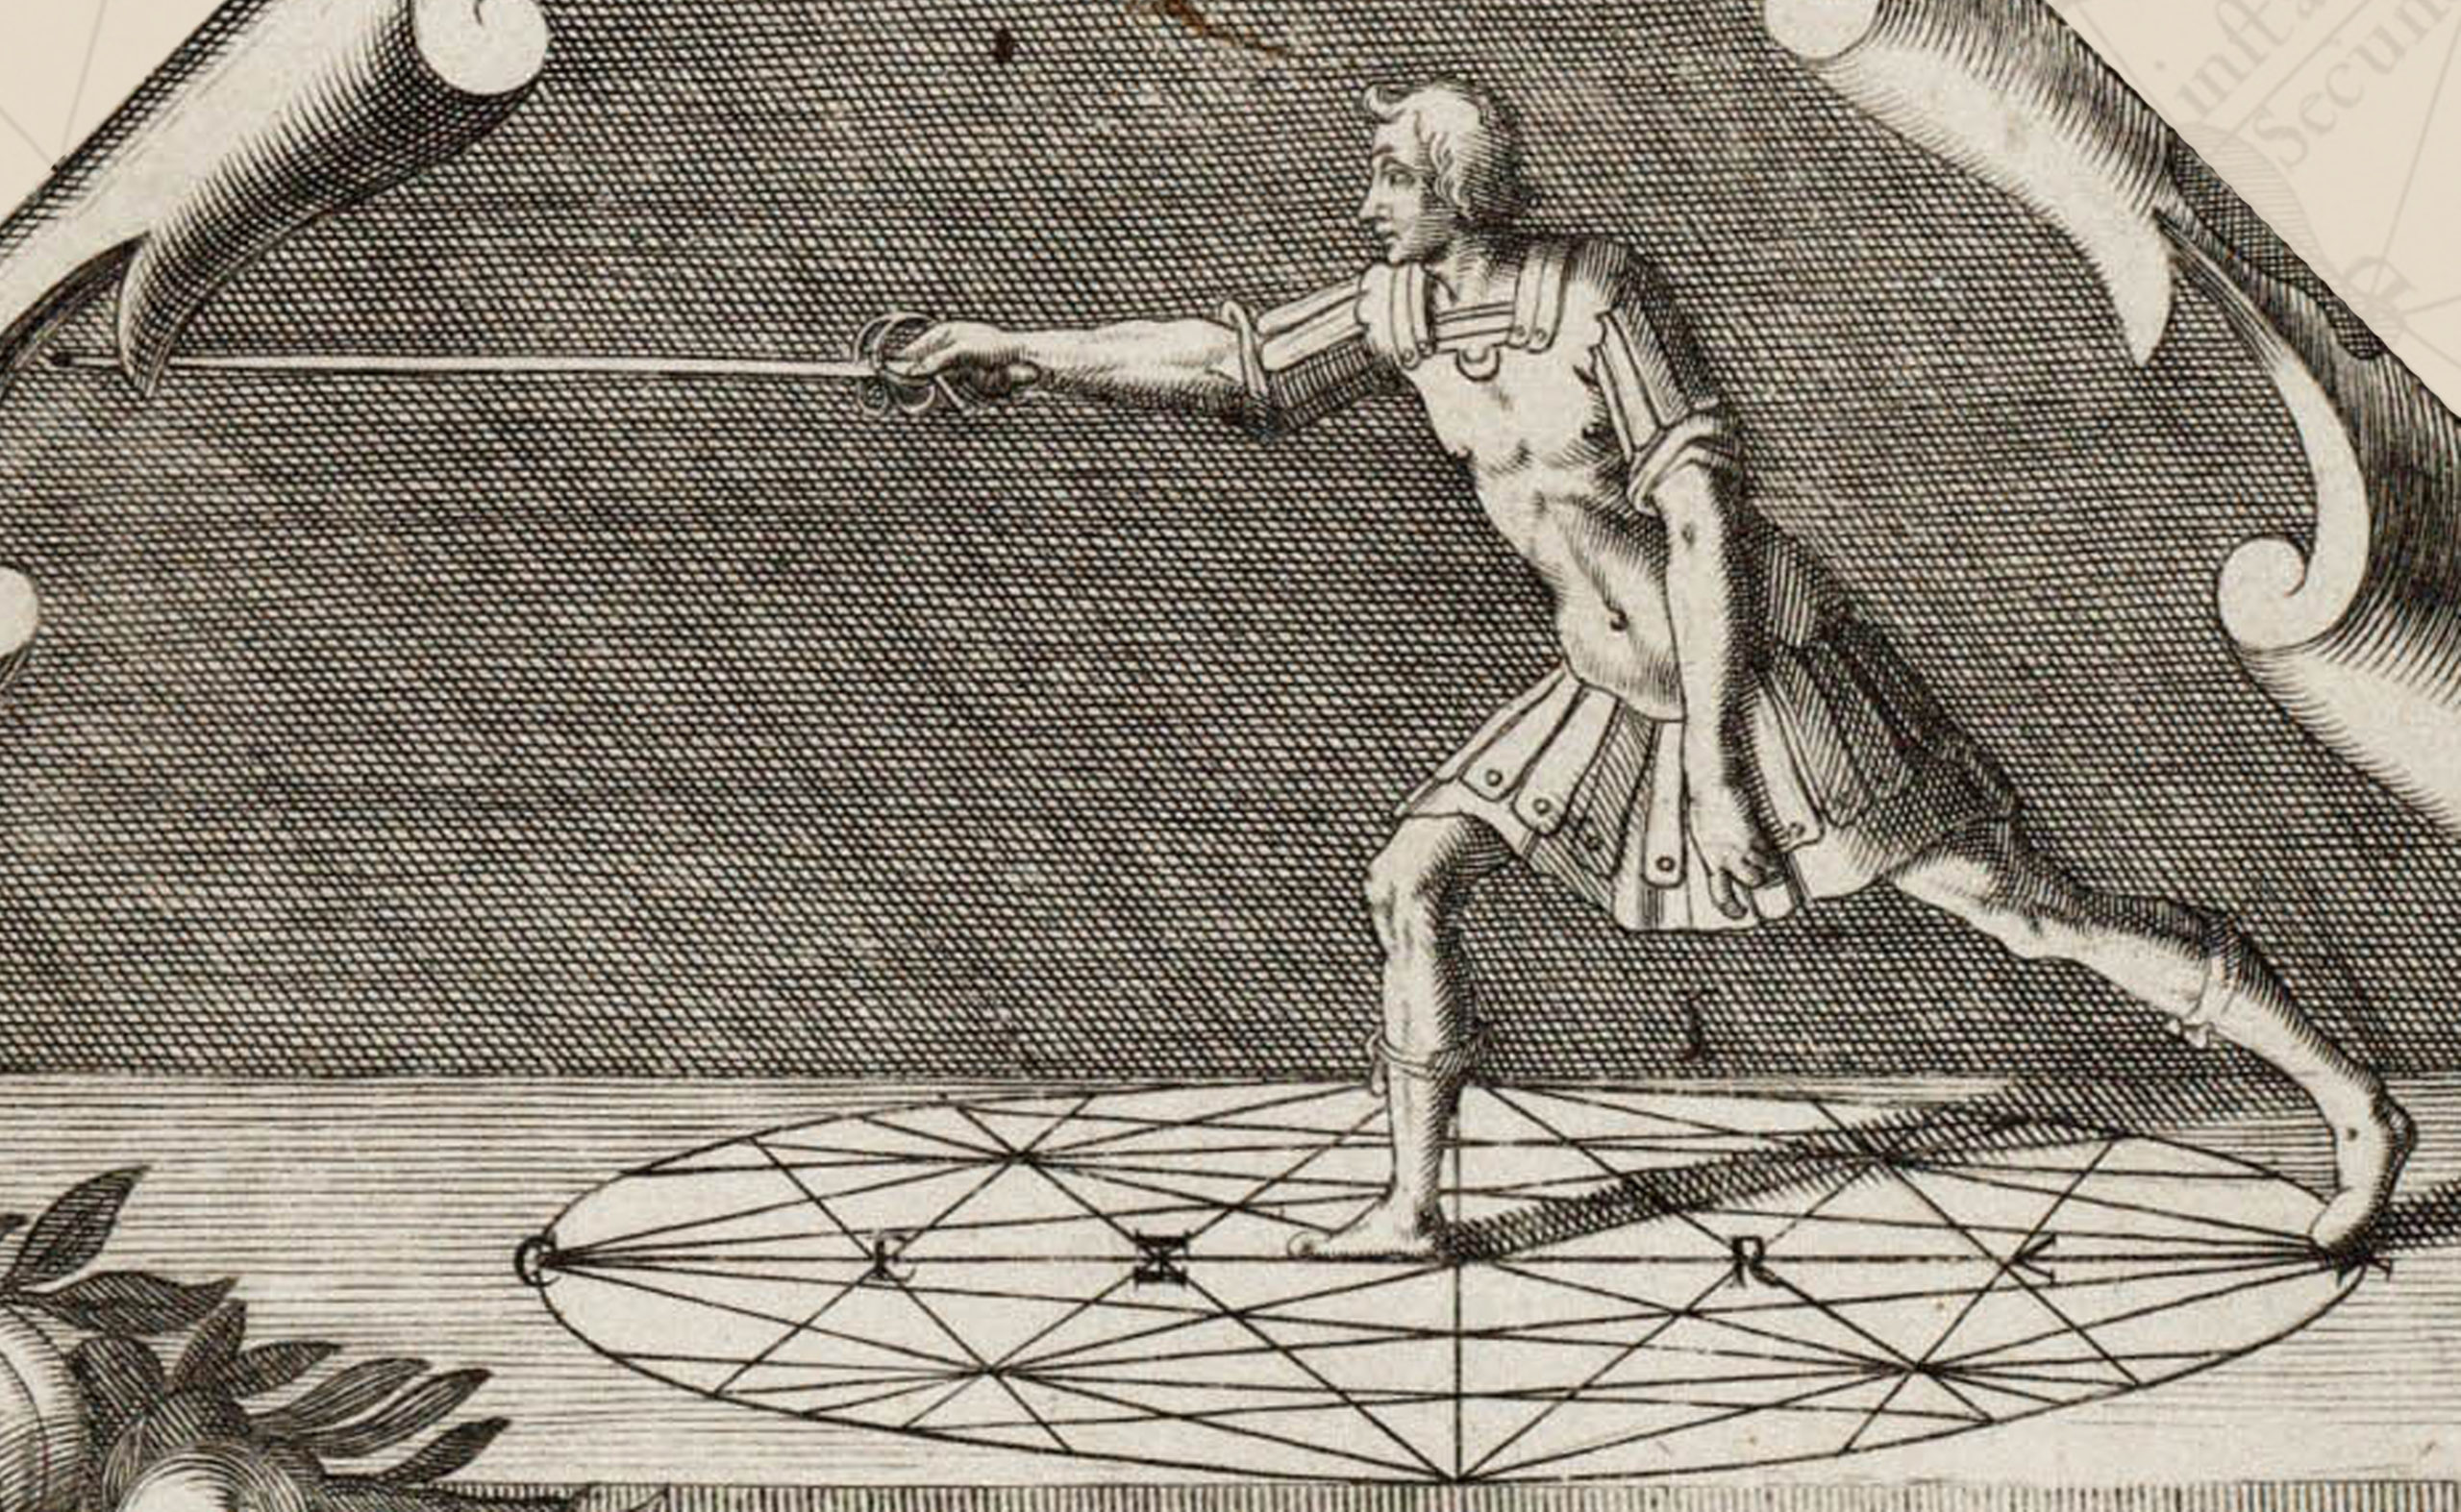
Hinge Rotation can be defined as the folding and unfolding of a joint along a two-dimensional plane at right angles to the rotational axis (fig 4). Hinge joints can be broken either by hyper extension or by applying lateral force across the hinge. Hinge joints are weakest when either extending from a fully flexed position or flexing from a fully extended position. Hinge joints include the knees and elbows. The ankles also function primarily as hinge joints, although they are capable of a negligible degree of compound rotation.

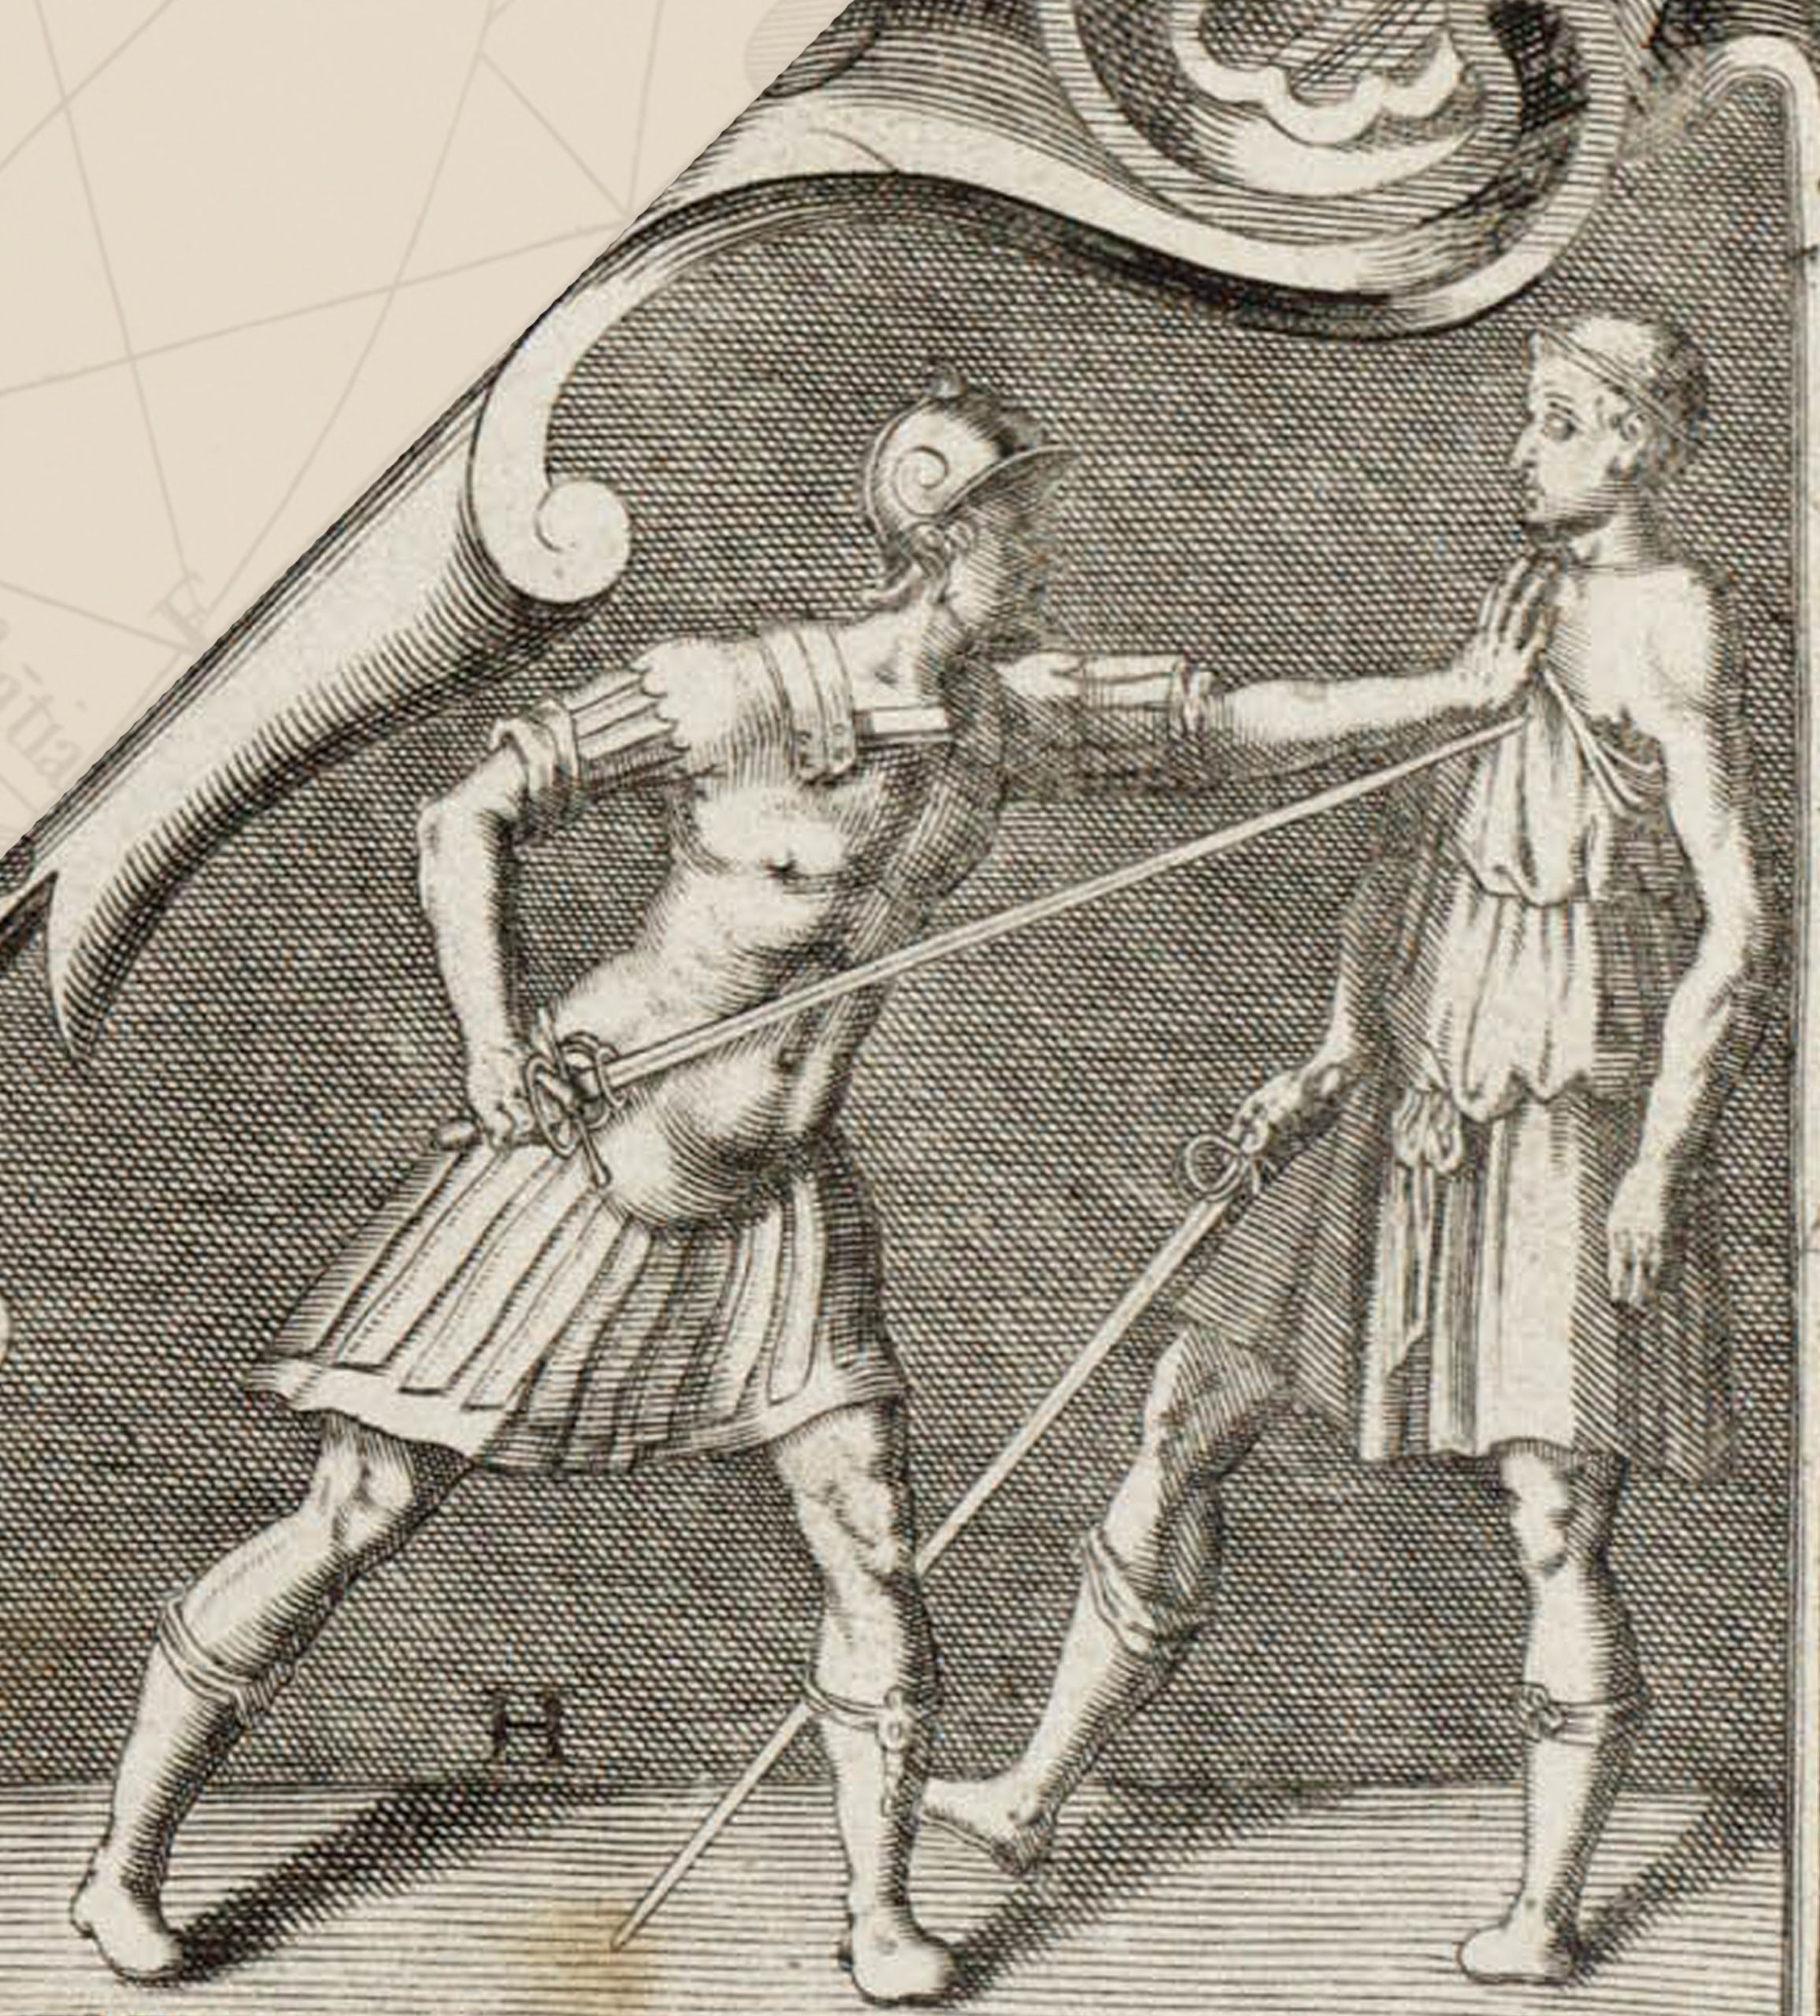
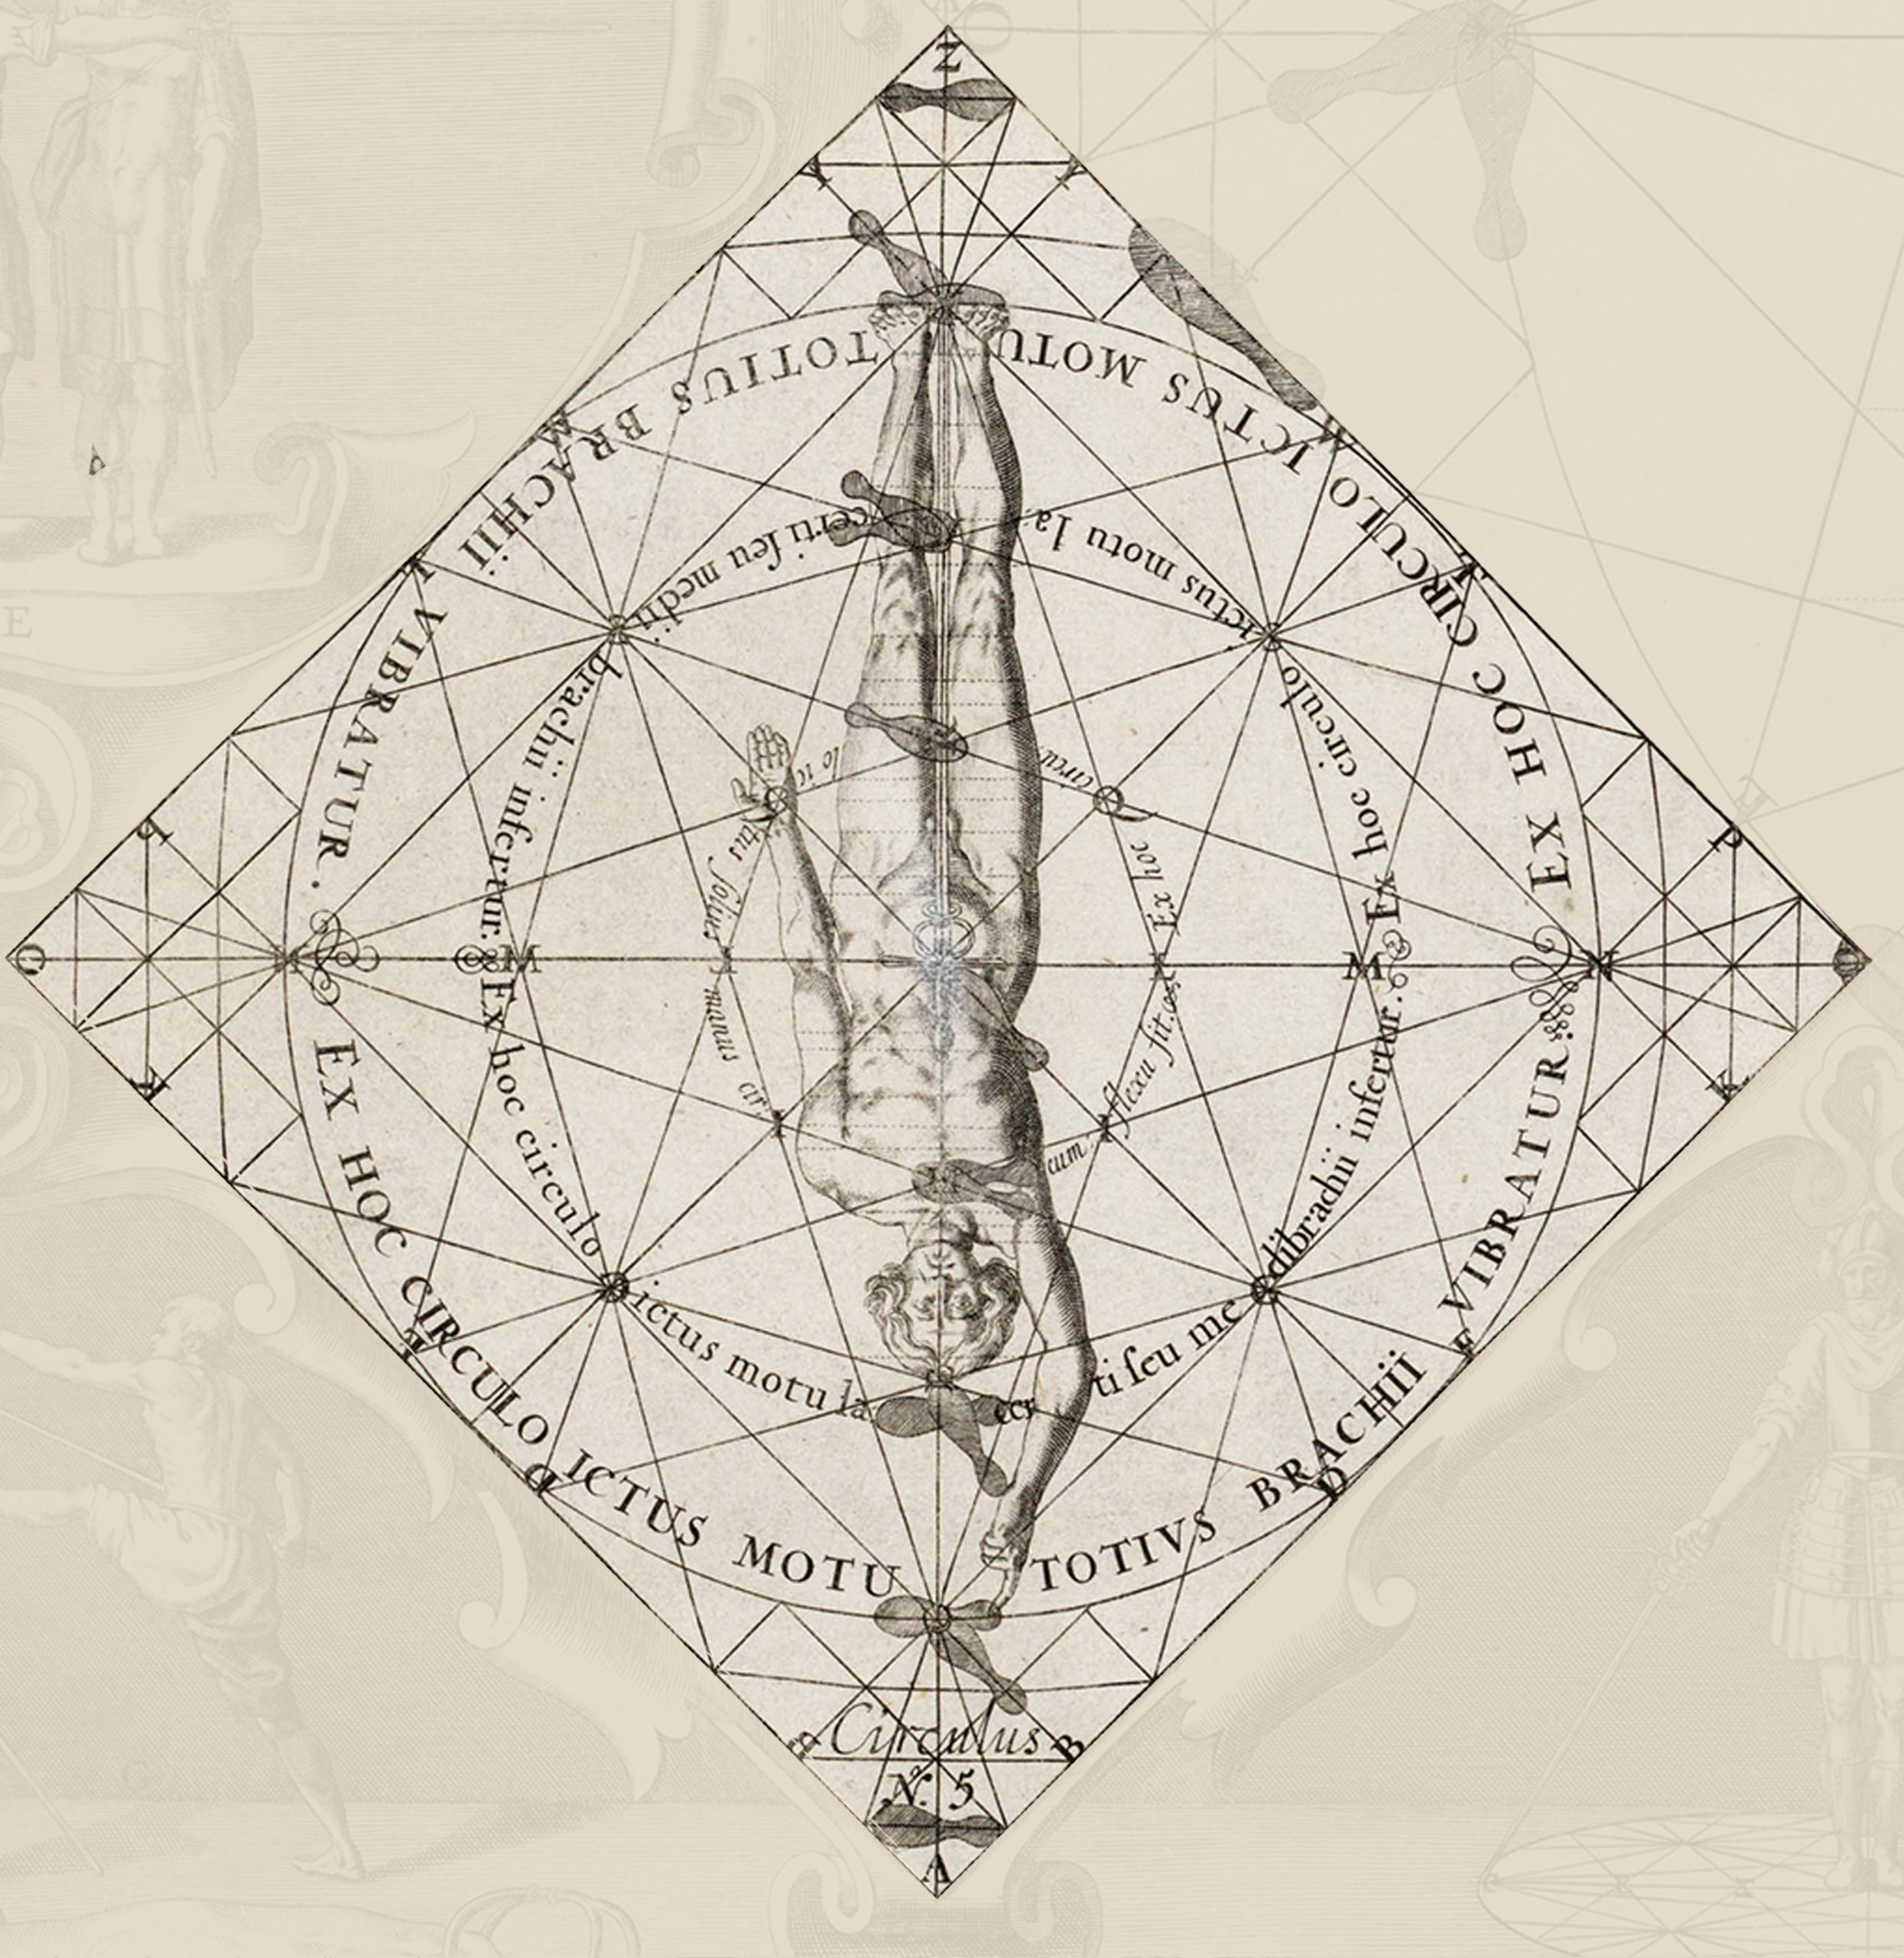
Axial and Compound Rotation includes twisting and turning movements which may either occur around a single axis (axial) or as an off-axis (compound) rotation (fig 5). Rotator joints are susceptible to binding at their extreme limits of both axial and compound rotation. They are weakest when attempting to return from extreme degrees of rotation. They are also more susceptible to dislocation than other joint types. Rotator joints include the neck, shoulders, xiphoid, hips, and pelvis.

Expansion and contraction refer to piston-like actions where the area becomes lengthened or shortened by muscular action (fig 6). These actions are very strong, but tend to be compact relative to other kinds of joint motions. Expansion and contraction is limited to the flanks, identified by the control points at the base of the floating ribs on the left and right sides.
General Principals of Control Point Manipulation
We classify manipulations based on two conditional pairs. The first of these is Voluntary -vs- Involuntary manipulation. As has been previously discussed, voluntary manipulation occurs when a person manipulates their own body at a control point (i.e. bending their elbow, rotating their head at the neck, etc.). Involuntary manipulation occurs when one person manipulates another person at a control point (ie pushing on the other person’s elbow, pulling their wrist, etc.).
The second conditional pairing is Anchored -vs- Non-anchored and refers to the condition of the control point or extremity. For example, if your foot is on the floor and bearing weight, it is anchored, because that contact will restrict the way that your leg can move. If, on the other hand, you bore all of your weight onto your right leg, so that your left leg either sat lightly on the floor or even a little bit off of the floor, your left leg would be Non-Anchored.
Based on these two pairings, we have four basic conditions which can be expressed as three tendencies (Anchored movement being essentially the same for both voluntary and involuntary manipulation):
- In Non-anchored Voluntary movement, the effect of the manipulation tends to express out toward and then along the nearest extremity or extremities. For example, manipulation of the shoulder would tend to move the arm.
- In Non-Anchored Involuntary movement, the effect of the manipulation tends to express out along the extremity until the mechanical limits are reached, at which point the core will begin to express as well. For example, a push to the elbow will tend to displace the arm until the shoulder binds. If the push continues, the torso will then begin to rotate.
- In Anchored movement whether Voluntary or Involuntary, the effect of the manipulation tends to express in toward the core of the body. For example, rotation of the hip of an Anchored leg will tend to cause the torso to rotate
Conclusion
It is my hope that, by using systems such as the one outlined above, students, teachers, and fellow practitioners can more easily understand and discuss physical postures, movements, and manipulations that are occurring in their practices and training sessions.
Sources
- “Johann Georg Pascha ~ Wiktenauer, the World’s Largest Library of HEMA Books and Manuscripts ~☞ Insquequo Omnes Gratuiti Fiant.” Wiktenauer.com, 2022, wiktenauer.com/wiki/Johann_Georg_Pascha. Accessed 16 Mar. 2026.
- “Part 1 – Chapter 2: Arrangement of the Body and Its Division into Planes – Historic Combat.” Historiccombat.com, 2026, www.historiccombat.com/frias/visual-frias-part-1/0102-arrangementofthebodyanditsdivisionintoplanes/. Accessed 16 Mar. 2026.
- Gerard Thibault d’Anvers. The Academy of the Sword. Aeon Books, 20 Feb. 2017.