The hanging ball practice target provides a basic tool for a number of different solo training exercises, focusing on targeting, calibration, and movement. These instructions will walk you through the basics of constructing one of your own.
Supplies:
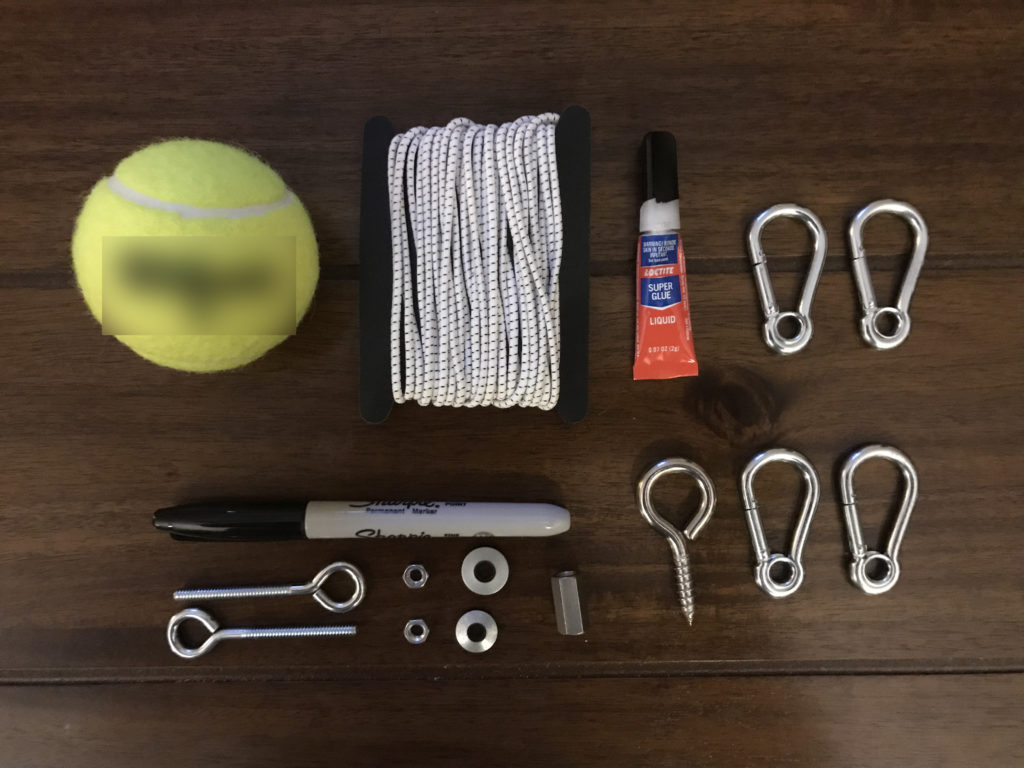
- One tennis ball (or something similar, such as a handball)
- Two 3/16” x 2 1/2” Eye Bolts
- Two #10 Nuts
- One #10 Rod Coupling Nut
- Two #12 Bonded Sealing Washers
- Four small spring carabiners
- One Eye Screw
- Elastic Cord (about 3/16” or 1/4”)
- One Sharpie Pen
- LocTite or Crazy Glue
- A Drill (not pictured)
- One 3/16” drill bit (not pictured)
- One 3/8” drill bit (not pictured)
Constructing the Ball
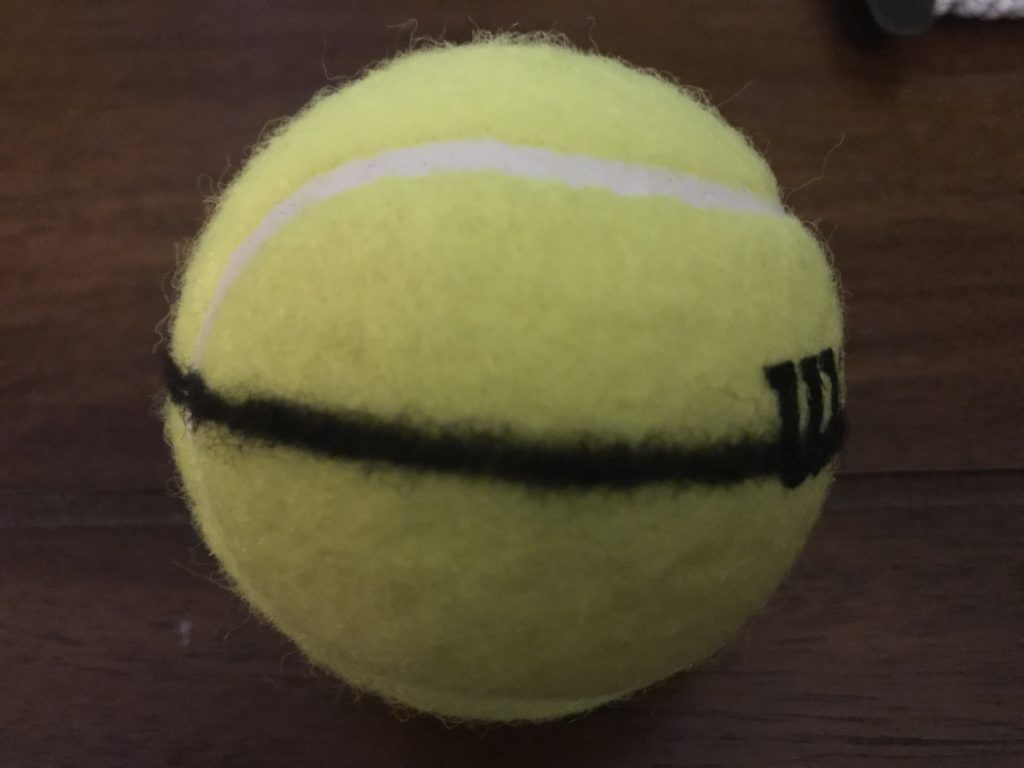
The manufacture of tennis balls results in a seam dividing the ball exactly into two halves. Using the sharpie, mark this line in black all the way around the ball.
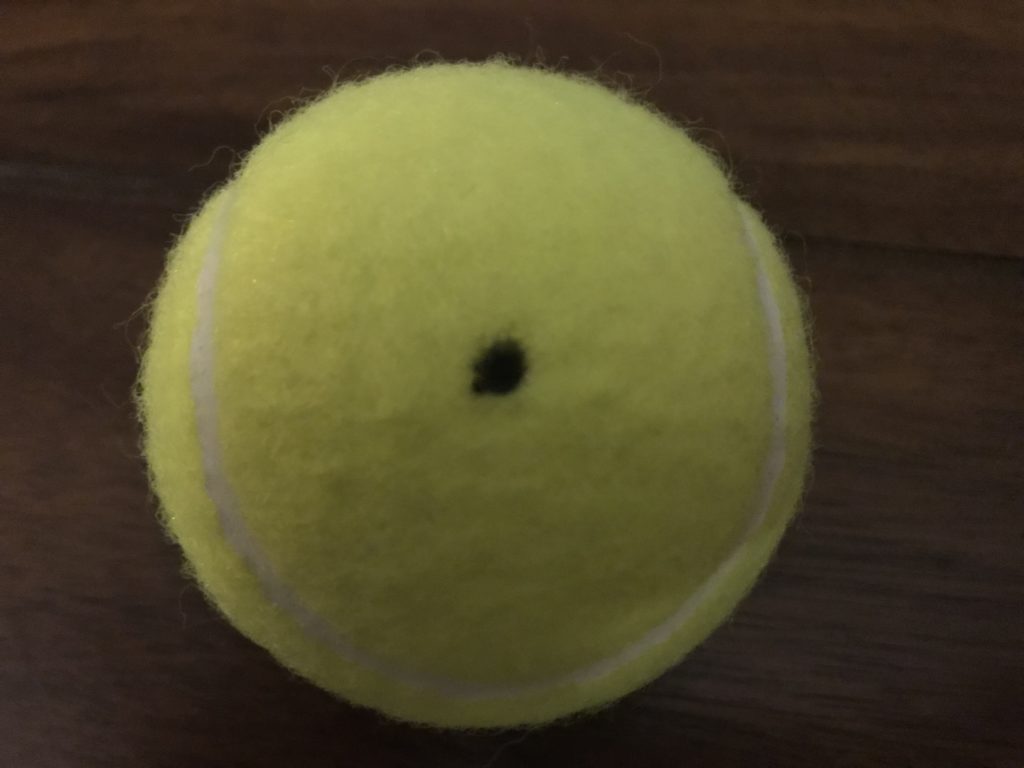
After this you will mark the points at the exact top and bottom of the ball each with a dot. You will then drill out the mark at the top of the ball with a 3/16” bit and the the one at the bottom of the ball with a 3/8” bit.
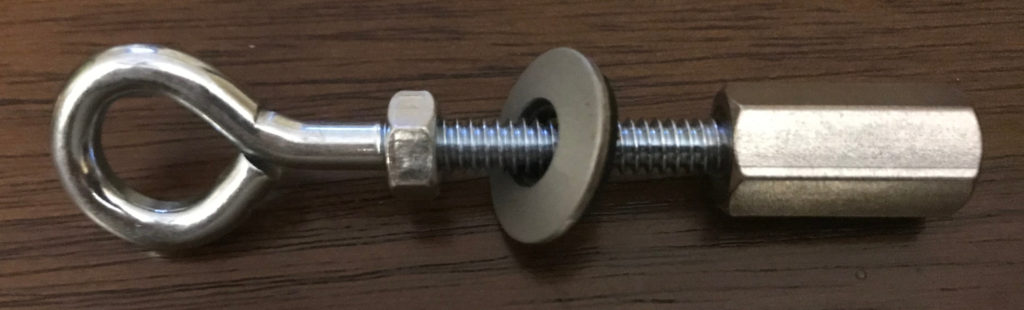
Next, take one eye bolt, one nut, one washer, and the rod coupling nut. First, place a few drops of LocTite to the last few threads at the eye end of the eye bolt and then thread the nut on until it covers the threads and LocTite. Next, slide the bonded sealing washer onto the eye bolt with the metal side facing the nut. Apply a few drops of LocTite to the inside of the rod coupling nut and thread it half way onto the eye bolt. Let’s call this the lower eye bolt assembly. It should look like the picture above.
The upper eye bolt assembly will be constructed similarly using the remaining eye bolt, nut, and washer. Don’t LocTite the nut in place yet, though, you’ll want to be able to tighten it down after everything is put together.
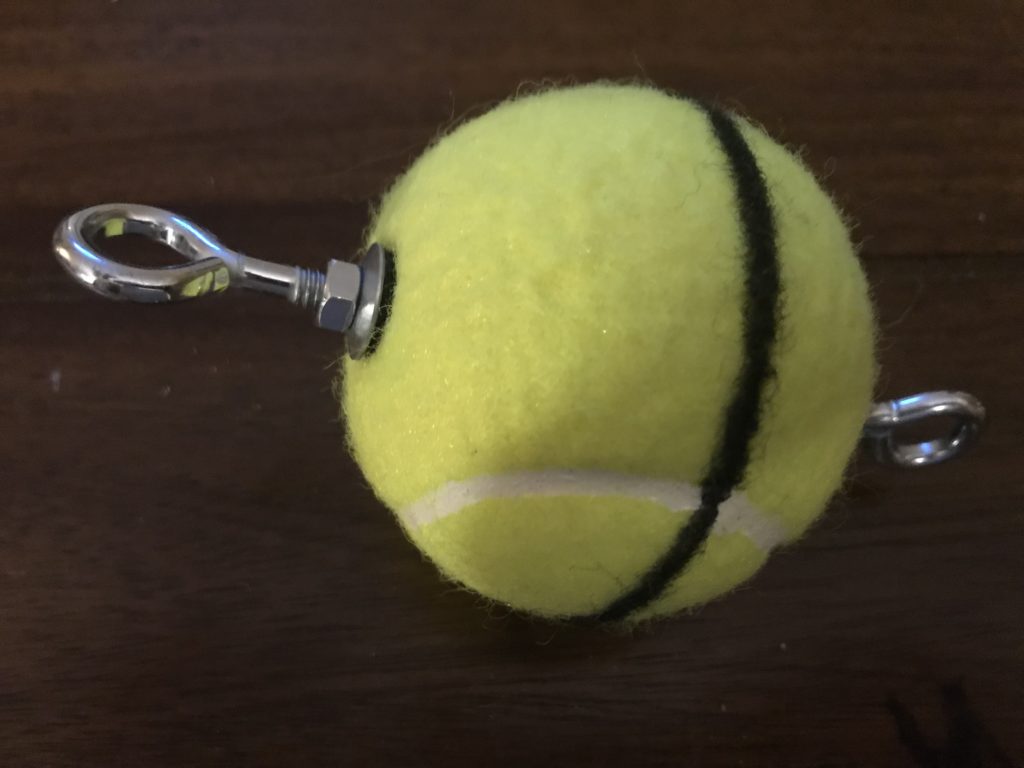
Apply a little bit of LocTite inside the open end of the rod coupling nut and push the rod coupling nut inside the ball through the 3/8″ bottom hole of the ball. Feed the threaded end of the upper eye bolt assembly through the 3/16″ top hole of the ball and thread it into the rod coupling nut. You may need to feel around on this part to get everything to mate up. Tighten the eye bolt into you rod coupling nut until it is tight and won’t turn any more with your fingers.
Finally, push the upper washer firmly against the top of the tennis ball, apply a little LocTite to the threads between the washer and the nut and then thread the nut down to finger tight against the washer.
Hanging the ball
How you hang the ball will depend on your personal circumstances. If you have the ability to do so, the simplest solution is to secure an eye bolt (such as the one pictured above) somewhere above head height (from the ceiling, for example). If that option is not available, you can use other options such as a C-Clamp at the top of an open doorway. Whatever you choose make sure that it is secure and that it has a point where you can clip a small carabiner.
In addition to a hanging point, you may want to consider a small weight that can act as a floor anchor. A kettle bell or something similar works especially well for this purpose as you can pass a cord through the handle and secure it to limit the movement of the training ball. This is especially helpful for exercises in calibrating your cuts and thrusts as such exercises can elicit considerable movement in the target if it is hit too hard.
I like to use a two cord suspension with one cord above the ball and another below it. I use two cords of differing lengths, one short, the other long. The short cord should be adjustable to the minimum distance you will want the target from either the ground or the ceiling (whichever is the smaller measurement). In my case, I have a 10 foot ceiling and I want the minimum cord length to be 2 feet (about 61cm). Since the cord can be shortened to 1/2 of their total length, I’m using a 4 ft (122cm) cord. My longer cord is 8 ft (244cm) and can be shortened to 4 ft.
I have one set of elastic cords, for limited dynamic interaction and one set of 1/4″ nylon cord (I found some fabulous glow in the dark Paracord) for more controlled interaction. The elastic cords have a carabiner looped at each end with a plastic cord lock. The nylon cords have a carabiner looped at each end with a slip knot.
The video below shows how both kinds of cord are assembled.